Let's get this party started!
For the next two weeks your "assignment" is to get your fabrics prepped, cut and marked. I love this part of the process. Every square is perfect, every mark is straight and it all looks so good in happy little piles. It's after this, when I start sewing, that things can get hairy, so those fresh cut lines are a joy to me. 😅
Affiliate Disclosure: This post contains Affiliate Links. When purchases are made through these links I receive a small commission at no extra cost to you. Your purchases help support my small business and keep my husband's head from exploding every time a new quilting notion arrives in our mailbox. Thank you for that. Find out more about Affiliate Links Here.
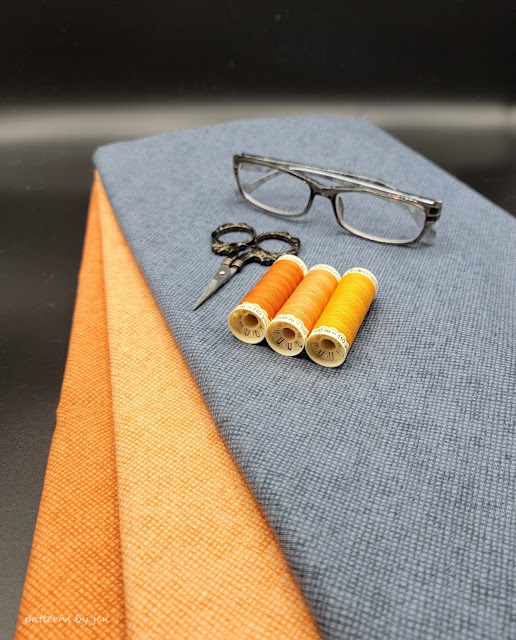
Fabric Prep
Prepping fabric can mean different things to different quilters. For me, it simply means using starch (Best Press and a mister for me) and giving the fabric a good pressing.
I buy my Best Press by the gallon, only scent free because of sensitivity, but there are many different sizes and scents.
Using a mister means the gallon lasts forever.
For other's it may mean washing first or pressing without starch. I'm here to tell you: do what works best for you. If you've been quilting for a while you have found what you like. If you are a new quilter, I encourage you to try different ways of prepping your fabric to see what you like and what gives you the results you are looking for.
Cutting
When you have your fabric prepped and you're ready to start cutting I encourage you to read through the cutting instructions.
First, read through all of them. Go ahead and grab a pencil or pen to circle or highlight the sizes and/or number needed for the quilt you are making. Take the time to also write in the colors you are using for each section, just to keep yourself organized.
Next, read them again, but just the section for the fabric you are going to cut.
*Tip* I like to do any marking that is required as I cut each fabric. If I have 40 squares that the diagonal needs to be marked on, I will cut those 40 out and mark them right away. Then move to the next cutting step. This keeps me from getting bored. Plus, it breaks up the monotony of cutting and marking, which when you are making a large quilt like I am for this quilt along, really helps to keep it from becoming a chore.
Finally, make sure to check off each set as you finish cutting. That way if you are called away, or get distracted by the puking cat 🤦 you can start again as soon as you get back.
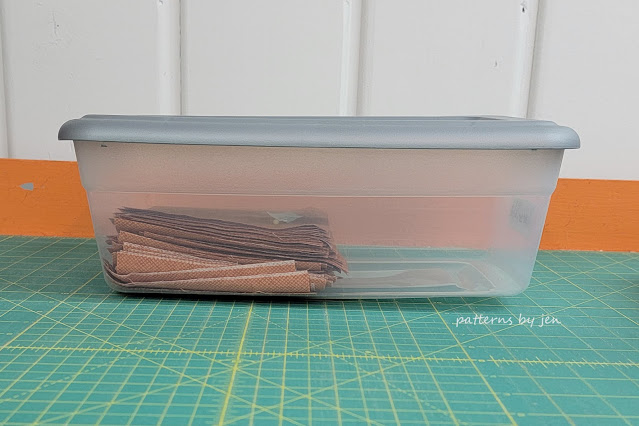
*Tip* As you finish each cutting set, mark the sizes. I simply write the size on paper and pin it to the top piece (I reuse these pieces over and over again). Then, put them in the storage bin you are using for the pattern. I love shoe box sized buckets for this. You might be surprised at how much you can fit into one. Label it, put the pattern in with it if you have it printed, and you are ready for the next "assignment."
How do you keep your pieces organized when you are participating in a quilt along? I'd love to hear!
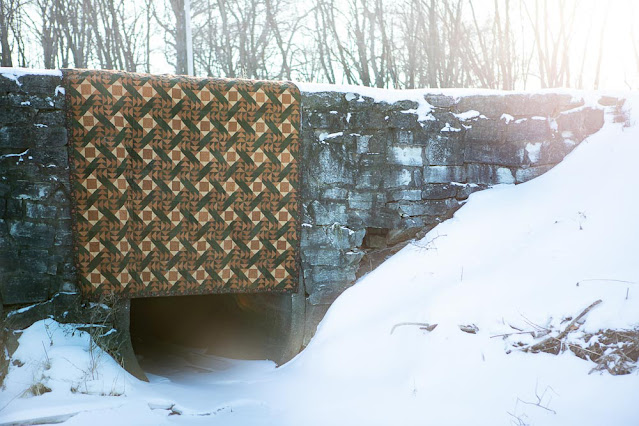
Missed the Introduction to the Twisted Flight Quilt Along? You can find it HERE.
Come back September 7th for tips on making our Flying Geese units!
Make something extraordinary!
Jen
New to Patterns By Jen?
Find paper and digital patterns, gifts and more in my Etsy shop.


