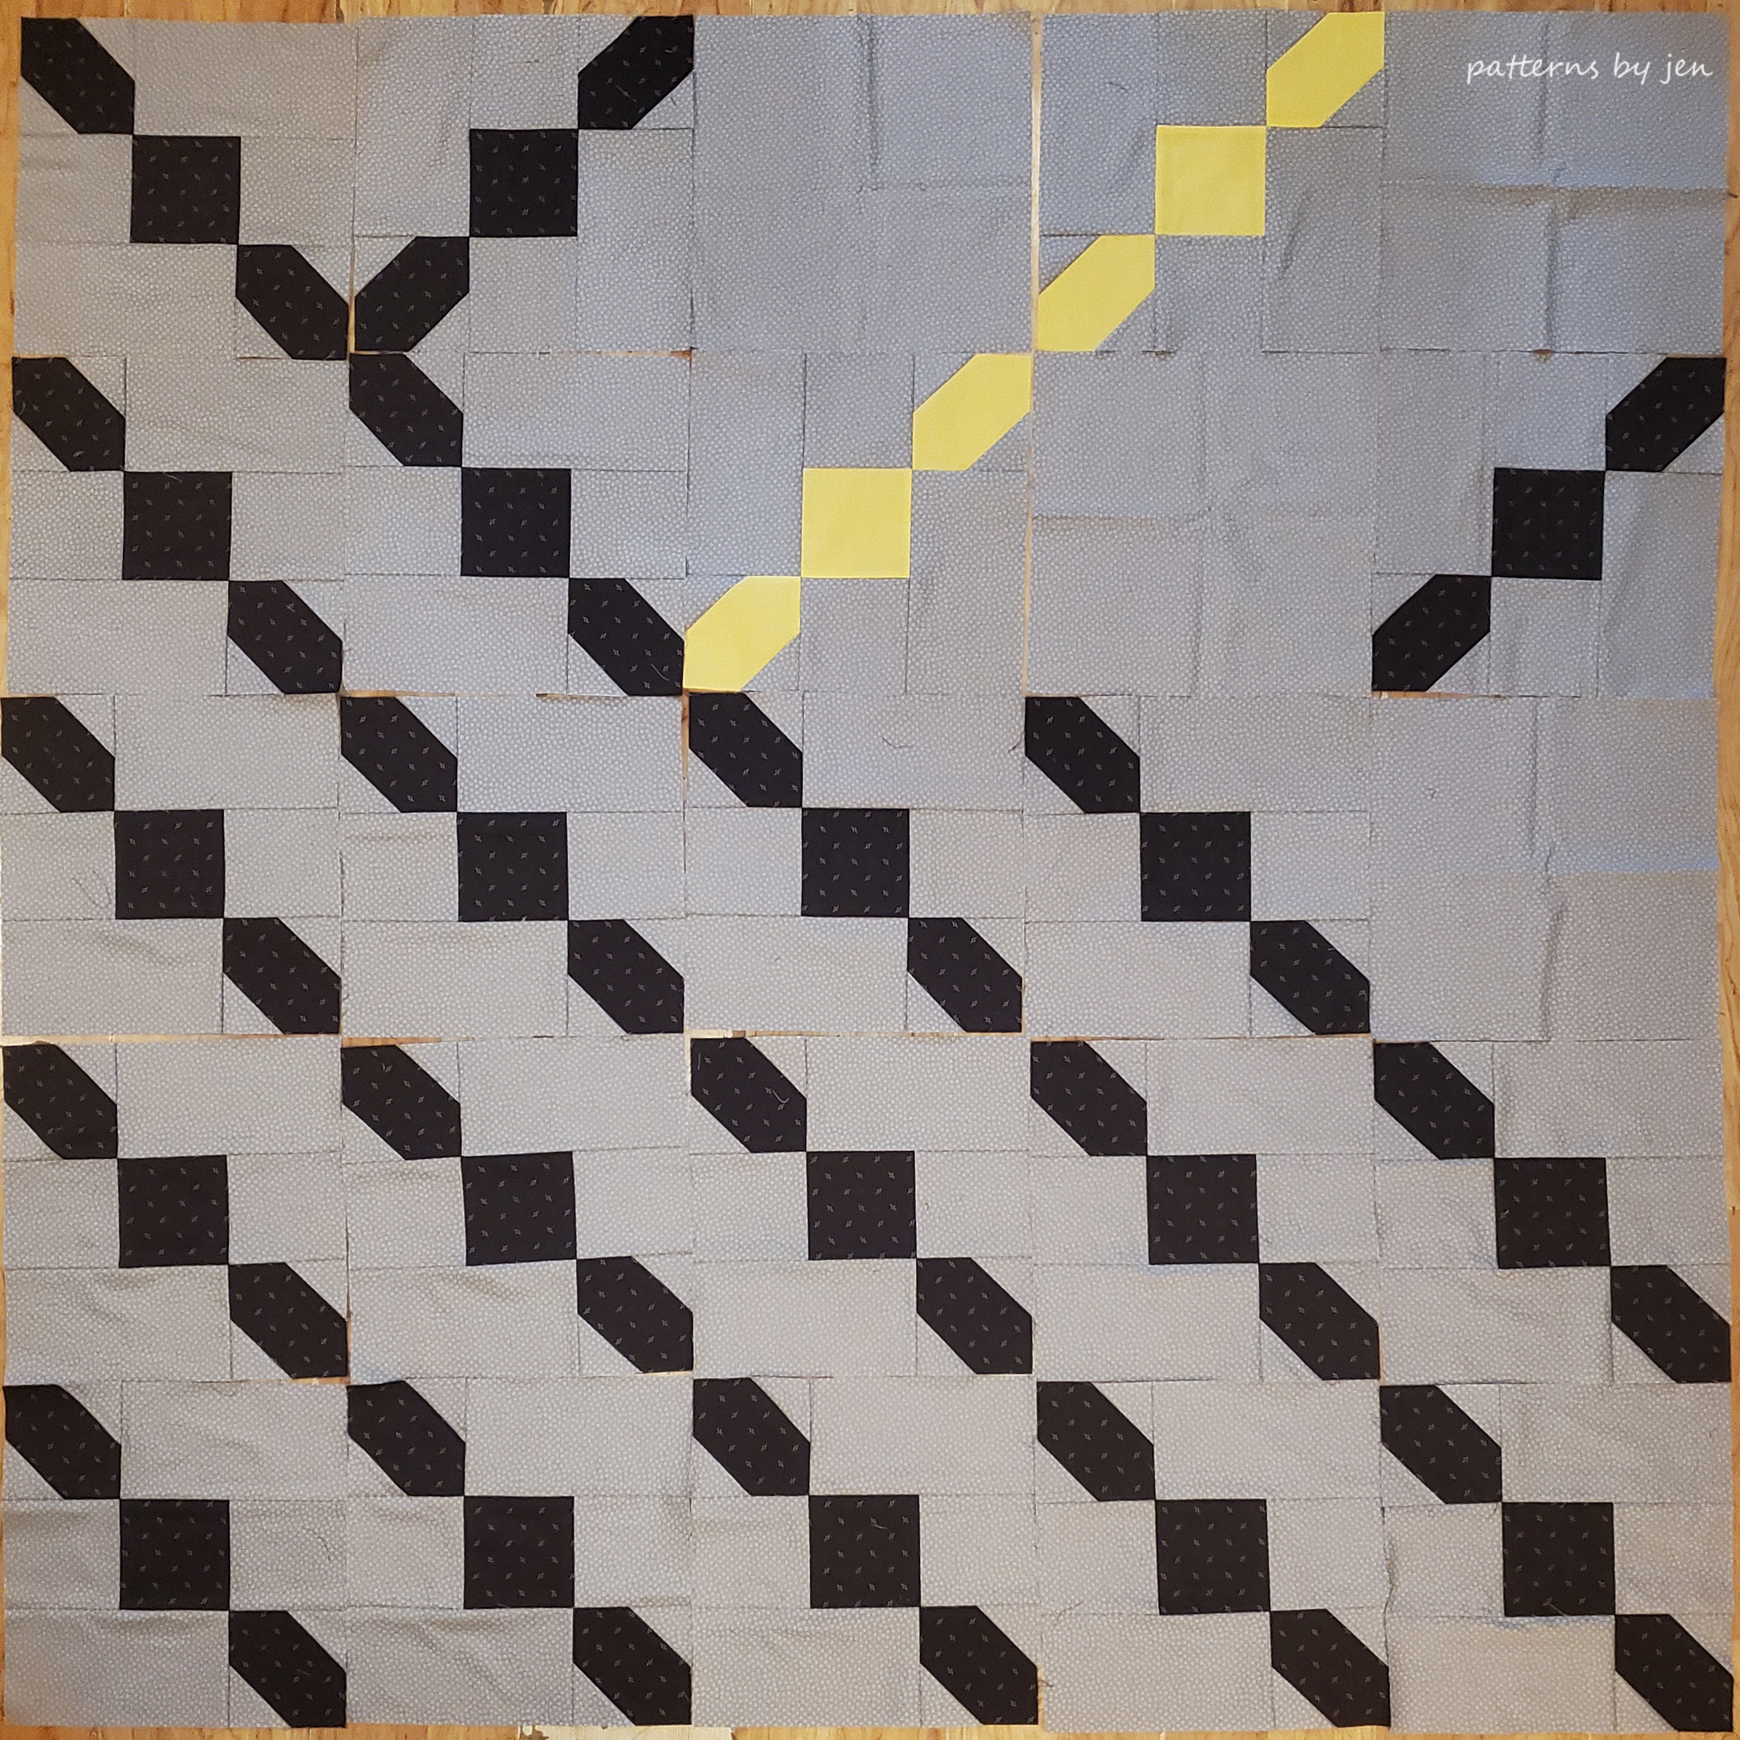
For the next two weeks we are putting our quilt top together and getting it prepped for quilting.
Affiliate Disclosure: This post contains Affiliate Links. When purchases are made through these links I receive a small commission at no extra cost to you. Your purchases help support my small business and keep my husband's head from exploding every time a new quilting notion arrives in our mailbox. Thank you for that. Find out more about Affiliate Links Here.
I love getting to this part in the quilting process, but I also start to get restless. I want to see the top put together, but I'm ready to get started on the next quilt project, too. Today I'm sharing my tips on putting quilt tops together efficiently.
I don't have a wall to set my blocks on, with two cats I think I would just get too frustrated trying to keep them off or fix what they knocked down, so I sweep and wash the fake hardwood floor in my child care area and lay it out there. (Do you see my mistake?)
Once I lay out the blocks I mark the rows. I found these in the Dollar Store area in Target, but you can use pieces of paper and pins or fancy Alphabitties found at the Fat Quarter Shop.
When I'm done laying out my blocks and marking my rows I can stack each row and then stack the rows and they will stay organized if I need to walk away at any point.
Take a moment when you are laying out the quilt to check which direction your seams are going. You should be able to turn a block, with it still facing the right direction, and get the seams to nest together.
 |
| Picture to show blocks 1&2 and 4&5 sewn. |
For this quilt I have just five blocks per row and my process is this:
Row 1: Sew blocks 1 and 2, leave my presser foot down, sew blocks 4 and 5 and leave the presser foot down. Then I cut the first set of blocks away and sew on block 3. This is where it can get tricky, but I will continue to chain piece the whole quilt like this.
Right now I have blocks 4 and 5 sewn together and blocks 1,2 and 3 sewn together and they are all still under the presser foot like chain pieced units. While they are still there I will start on Row 2.
I sew Row 2 blocks 1 and 2, and then 3 and 4. Leaving blocks 3 and 4 under the presser foot I clip the threads from the other blocks. Now I will finish Row 1 sewing 1,2,3 to 4,5 to finish, and then sew Row 1&2 blocks to 3. At this point I start on Row 3 as I did above with Row 2 and continue on, pressing each row as I finish it.
Yikes, it's so much easier to do it than to explain it! This is also not the only way to do this! If you want to do one block at a time press and add the next and so on, do it. Quilting is only fun if you do it your way and enjoy the process!
I leave my markers on the blocks throughout the process. Not only does it keep my rows in order, but when I'm pressing I know this row I press towards the marker, this one is away from the marker.
I do the same thing when sewing the rows together, first the top two and the bottom two and work my way toward the middle. I find that doing it this way keeps the top from getting too "top heavy" when sewing just one strip on from top to bottom. Unfortunately, I didn't see the turned block until I had already sewn row three on.
Fortunately (???) I've done this enough times that I can fix this quickly. First, just rip the row seam just past the block that needs to be fixed.
Next, rip the seam that is connecting the offending block. Once you have that section loose rip out any other seams, in this case just the one connecting it to the solid block. Flip the block and sew in the reverse order you ripped. In this case, stitched to the solid, then I will finish the row, and then match up seams and finish that row...again. Don't sew the whole row, just stitch a few locking stitches an inch or so from the ripped area and then finish the seam.
Annnnd done. Sigh, or not. Who was running this show??!!
So while my sewing method may up my efficiency, my layout time needs a little work. I did get it done though, and correctly.
My next step is the first step in prepping my top for quilting: use the lint roller. Hit your top with the lint roller to quickly pick up those stray threads. Doing this now means you won't have to fight with them after they have been quilted into the top. For those threads that are coming out of the seams from the back, carefully trim those, don't pull them out.
Our next step is sandwiching the top. I share a how-to in
THIS POST that includes how I piece batting. While this how-to is on a smaller scale it is exactly how I do larger pieces, I just do it on the floor.
In two weeks we start quilting!! So piece your top, sandwich it and then start pulling thread and thinking about how you want to quilt it. If machine quilting isn't something you are very confident about you can look into
String and a Story Intro to Free Motion class. OR if you want an in-depth free motion course get on her
WAITING LIST for a summer of learning free motion!!!
See you in two weeks!
Make something Extraordinary!
Jen
New to Patterns By Jen?
Don't forget to sign up for the Bites of PBJ newsletter while you are here for early releases and sales just for subscribers!