
It's the last of my projects as a Benartex Ambassador. What a fun year it has been!
Affiliate Disclosure: This post contains Affiliate Links. When purchases are made through these links I receive a small commission at no extra cost to you. Your purchases help support my small business and keep my husband's head from exploding every time a new quilting notion arrives in our mailbox. Thank you for that. Find out more about Affiliate Links Here.
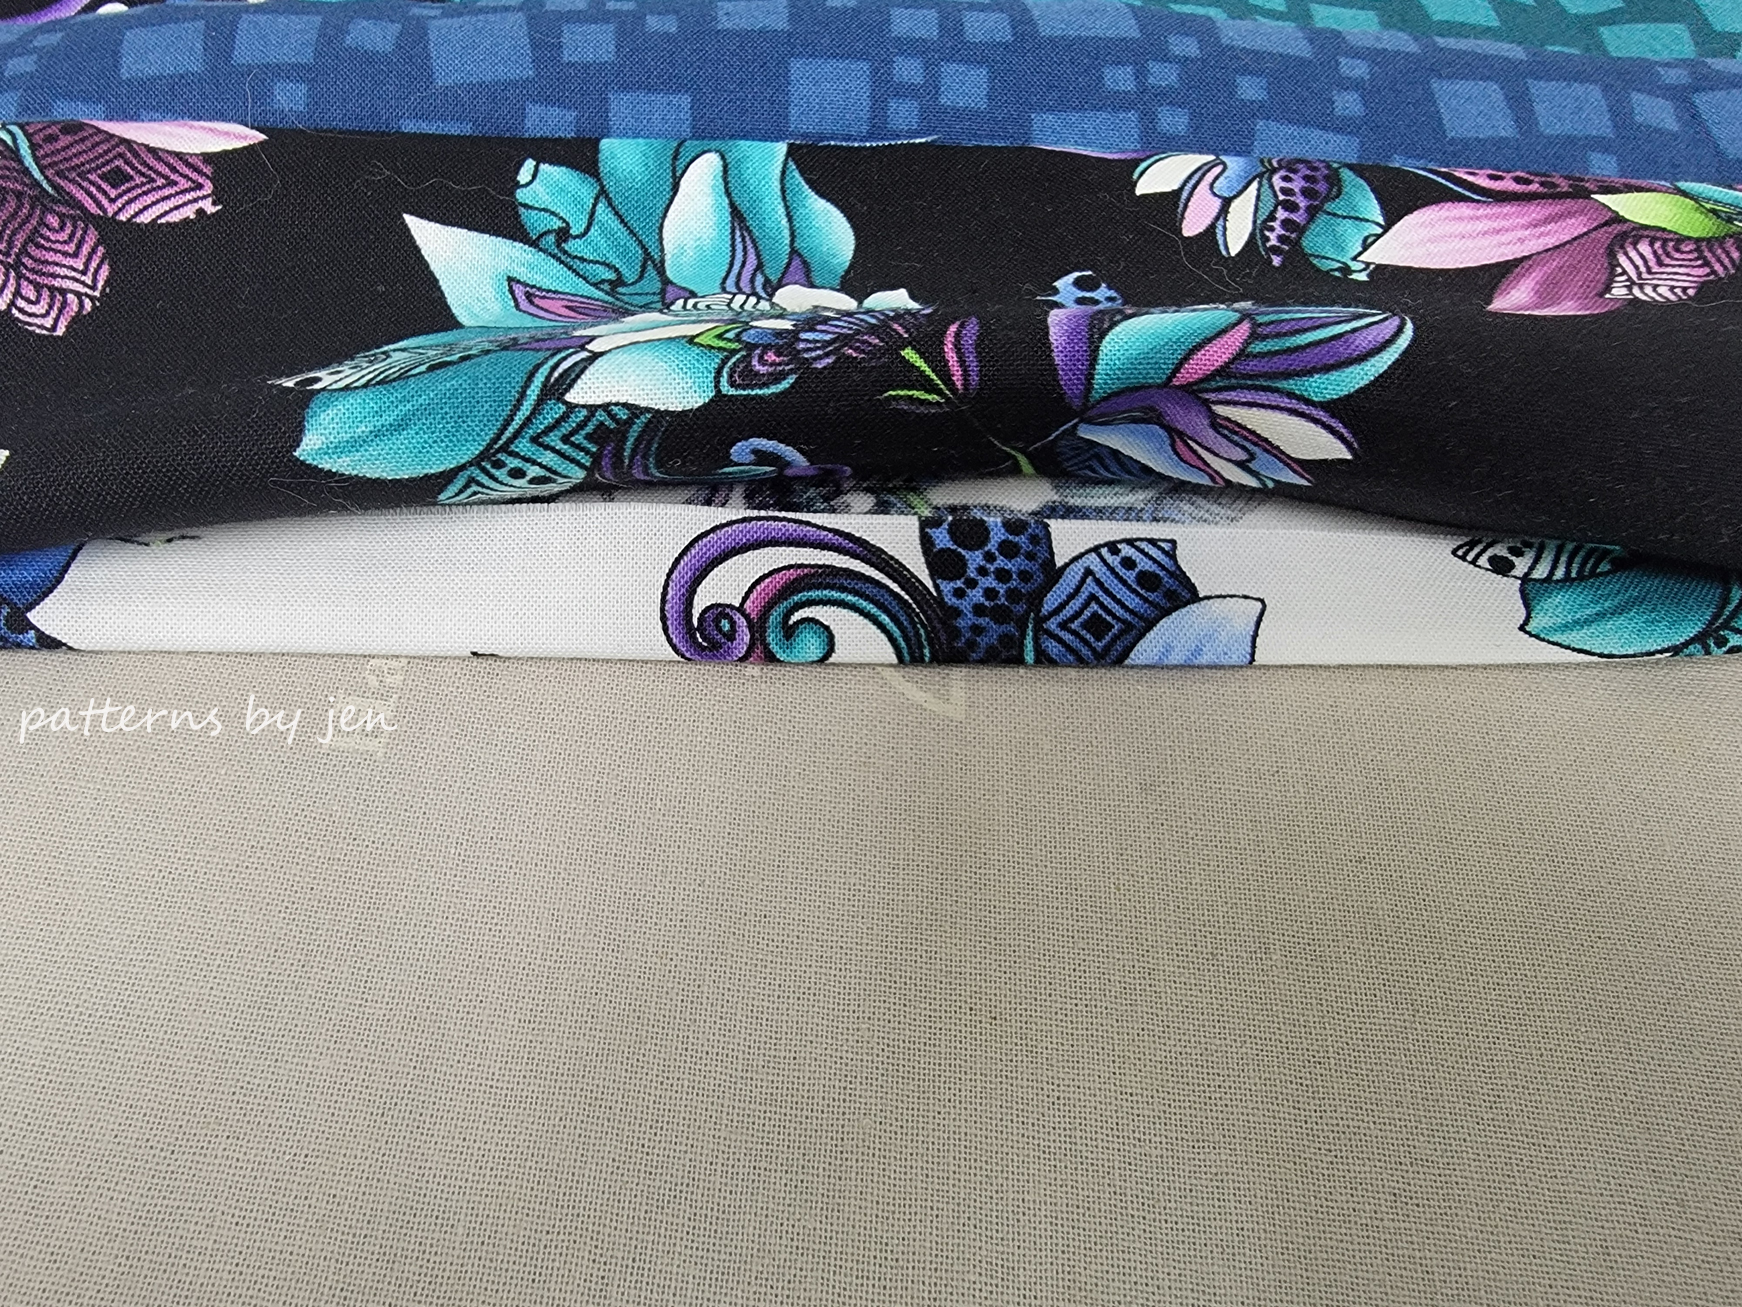
.jpg)
I was given Xanadu by Ann Lauer to use for this tutorial. This fabric is so beautiful, and fun, Click on the link to get some up close looks at all of the fabrics in this collection.
You can download the free pattern I've designed for this reversible bed runner tutorial HERE. Instructions are for a king size bed runner, but can be sized down by making less blocks.
**This post is going to be picture heavy with tips for finishing the bed runner.**
Recommended Tools
Cutting/Piecing Tips
This pattern uses oversized units and I found the 12 1/2" square perfect for cutting all of the large squares we need.

When trimming for the pinwheel blocks:

Start with the small triangle in the top corner.
Line the 2" ruler mark on the point.

Unit 1

Unit 2
Once you have pieced your runners, place them right sides together. I like to throw a few pins around the edges to keep it all in place.
We will be leaving a 5 to 6 inch opening so that we can turn this right side out when we are done stitching. When I sew a piece like this I like to put two pins at my stopping point so I don't accidently sew it shut.

I recommend using a 1/2" seam allowance to make closing the opening easier a few steps from now. If you are a confident stitcher, you can do 1/4" seam allowance if that is your preference. To help remind myself that my seam allowance is larger, I change out my quarter inch foot for a different size. In this instance the J foot for my Babylock Brilliant.

When I begin stitching I like to lock my stitches. this helps the stitches stay when I am wrestling the fabric and turning it right side out.

Here is a tip my grandmother shared with my mom, who shared it with me. When sewing corners, stop early.

Turn the fabric so you are stitching at a diagonal. Take 3 to 4 stitches.

Turn the fabric again and continue sewing the 1/2" seam allowance. This helps to give you a nice point in your corners.

When you come to the two pins, lock your stitches again. If you don't have a way to do this on your machine, simply backstitch a couple of stiches, and stitch forward a couple.

Clip corners.

We are ready to turn out fabric right side out.


Once you've done that, grab a stiletto, I use "That Purple Thang" and gently push out the corners.

This next part is going to take a bit of time, but it's worth it, I promise. We're going to press around the outside of our bed runner and give ourselves a nice, sharp edge.

To do this, I first finger press all the way around to make sure that I am getting any extra fabric pushed back towards the center of the runner and that it won't get pressed into the seam.

Then slowly press all the way around. Take your time and and make sure that seam looks clean.

When you come to the opening, fold in your seam allowance, then press. I like to press one side at a time.
We're ready to stop stitch. I like to use a longer stitch than my typical piecing stitch. On my Babylock that is a length of 4. I was going to do my top stitching in a pretty purple, but by the time I got to this step I had already forgotten and went with black. I also did a simple straight stitch but you could play around with the fun stitches on your machine if you wanted to jazz it up.

I also switched back to my quarter inch foot.

Typically I start on the opposite side from where my opening is, that way I don't have to worry about missing any fabric when starting and I can treat it like a typical seam.

I do mark the opening with pins, just to remind myself to double check that the seam allowances are still turned in.

From here you can choose to add some fun stitches throughout the runner, maybe add some embroidery, or tie it with thread.

I chose to leave it as is for now. I'll way to see if I'm inspired to add anything quirky and fun to go with the fabric.

Have fun making your reversible bed runner! I would love to see it when it is done!

Make something extraordinary!
Jen
New to Patterns By Jen?
Don't forget to sign up for the Bites of PBJ newsletter while you are here for early releases and sales just for subscribers!
Find paper and digital patterns in my Etsy shop.
Find fun PBJ merchandise at Teespring
Join the Quilt and Learn with Patterns By Jen Facebook page.
I've never figured out a purpose (if any) for a bed runner??
ReplyDeleteIn my mind it's really just a décor piece, one that can be switched out with seasons.
Delete