Showing posts with label Moda. Show all posts

Monday, May 1, 2017

May Muggamo

For May's Muggamo pattern I had to use the Bee Inspired line by Deb Strain for Moda.


Cutting

Gold
1) One 13 1/2" x 1" strip
2) One 15 1/2" x 1 1/2" strip
a. Sub-cut into six 2 1/2" x 1 1/2" units
3) One 6 1/2" x 1 1/2" strip
4) One 3 1/4" square

Black
1)One 13 1/2" x 1" strip
2) One 6 1/2" x 1 1/2" strip
3) One 5 1/2" x 1 1/2"
a. Sub-cut into two 2 1/2" x 1 1/2" units
4) One 3 1/4" square

White
1) One 13 1/2" x 1" strip
2) One 12 1/2" x 1 1/2" strip 
a. Sub-cut into eight 1 1/2" squares
3) One 10 1/2" x 1 1/2" strip
a. Sub-cut into four 2 1/2" x 1 1/2"


Bee-utiful! I love when the selvage is just as pretty as the fabric. 


Draw a line on the diagonal on the back side of the gold square and each of the white squares.


Using the black square and the gold, place them right sides together and stitch a scant 1/4" on either side.


I sew so the 1/4" foot is just a tish over the drawn line.


Cut on the line and press towards the black.


Next, draw a line on the wrong side of one of the half square triangles, perpendicular to the seam.


Place your squares right sides together, opposite colors together. Squares in picture are offset to show how fabrics should align. The seams should nest together.


Again, stitch on either side of the drawn line. Cut on the drawn line. You will get two hour glass blocks, which I forgot to take a picture of. I have to forget at least one picture per tutorial. It's just the way I roll. 


Line up a square on the black units and four of the gold. Stitch on the line. Press towards the white. 


Trim off the excess.


Lay another square on the other end of each unit, stitch on the line.

Press and trim as above. Guess what? I forgot those pictures as well. Then as I was getting ready to write the next set of instructions, I realized I forgot all of those. Maybe by Dec the "I forgot to take..." line will not have to be typed. One can hope. 
**NOTE** The instructions for the corner blocks are included in the PDF download above.


Once you've sewn your corner units and Flying Geese units, lay our your pieces.


Sew your rows together.


Stitch your side piece, sub-cut into two pieces and sew back together as shown.


Add your side piece.


Layer your mug rug. Those leftover scraps of batting from the longarmer are perfect for this.  Using your walking foot, stitch in the ditch.  


Bind. Grab a treat and a drink and enjoy.


I love when the back is just as pretty as the front. I do muslin backs as well, but this was too pretty not to use.

Happy Stitching!
Jen

Link up throughout the month of May!


Friday, April 14, 2017

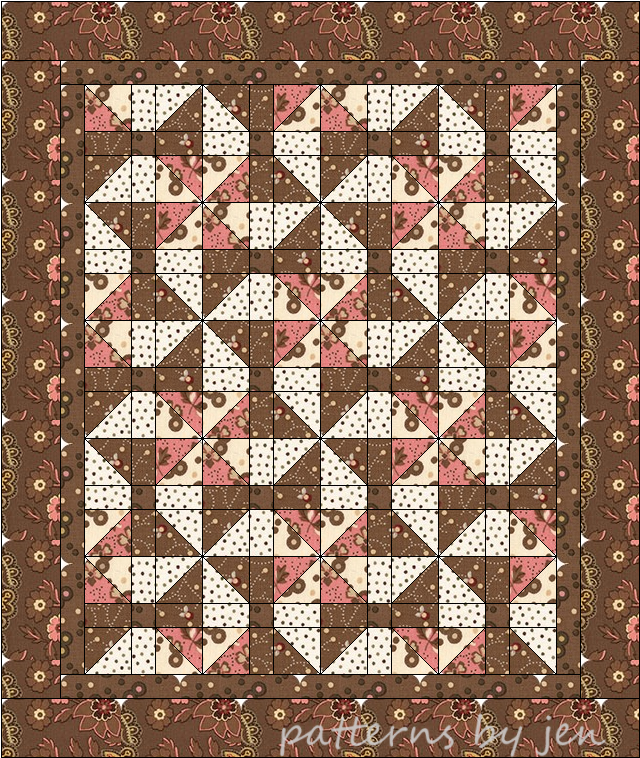
Flashback Friday to Spinning Bow Ties PBJ - 102

Stop two on our little Flashback Friday series is with Spinning Bow Ties. Baby number two for PBJ.


Isn't she pretty? I showed the inspiration quilt the for colors, from a tester, in this Finding Your Color post.


That polka dot border had to be used. I love polka dots. Love. Them. So of course I had to incorporate them. 

Just as I did with the first post on Pinwheel Pizzazz I am going to do a little updating with some new fabrics that are just being released or soon will be. 


I love a quilt in brown and pink. This mock up using Robert Kaufman's Sweet Charlotte by Darlene Zimmerman has just enough pink to soften the brown. Sweet Charlotte was first available in January, 2017. 


New from Connecting Threads is this pretty fabric collection Country Inn.  I love the look of this quilt with just two colors. Spinning Bow Ties is a really simple pattern, that has just been upgraded to include more sizes. Instructions are included for getting that perfect half-square triangle that makes piecing the block extremely easy.


Shhhhh, this is my favorite. Fabrics are from Moda's Fragile by Zen Chic. The really, really sad news is that it isn't available until September. Sniff! I might have to remake this pattern in these fabrics when they are available. I love this that much.

Spinning Bow Ties is truly a beginner's quilt. While an advance quilter can take this pattern and make it theirs, so can a beginner. Spinning Bow Ties is laid out for beginners to be able to follow and produce a beautiful quilt easily.


Happy Stitching!
Jen

Connect with me on Instagram and share your progress and finished quilts by using #PattensByJen on social media. 


Sunday, June 5, 2016

Crossroads Quilt Along ~ Block 4

Follow my blog with Bloglovin
Seams, seams and more seams. That was the thought going through my head while I stitched these blocks together. Have you noticed, though, that the more seams, the prettier the block? That is the case with this months Family Block from the Crossroads Quilt Along.


So, so pretty!


Even when I use leaders and enders, my machine eats my corners. Although this time, I just realized it's probably because I have stitched 3 full quilts with this needle... Whoops. I think I owe Queen Lily an apology...and a good cleaning.

I still have issues with the corners though, so for the flying geese units I started stitching in the middle. 


I still haven't gotten on board with the whole "press seams open" thing, though this block has gotten me to think about it. Like I said, there were a lot of seams. When those seams come together...I definitely need to apologize to Queen Lily... and get her a new needle. 

On the flying geese units I pressed up, because open seams or not, I like being able to match up my seams. It's my thing.


On the corner units I pressed down. 

Side note: I did add 1/8" to the cutting measurements for the half square triangles. This gave me just enough to trim those babies into the perfect half square triangle units.


Once all of your units are pieced and pressed, you get to put these blocks together. Pin those seams and stitch away. Once I get to the pin I pull it out before the needle hits, but not before I have gone over the seam to keep it in place. 


Beautiful, beautiful blocks. It's coming together, but there is still time for you to join. The pattern is free, The Fat Quarter Shop just asks that you make a $5 donation to March of Dimes. They haven't met their goal yet, so think about joining and helping a great cause. 

Happy Stitching!
Jen

Monday, May 23, 2016

The Picnic Quilt - Free Pattern

Memorial Day is coming up and who doesn't love a good BBQ with the family. And what goes better with BBQ and family then a quilt? Well, maybe cold drinks, yummy deserts and campfires, but a quilt should be on the list, too. This one is quick and easy and uses a Layer Cake and a Jelly Roll.


Finished size is 68 x 68

Needed supplies:
1 Layer cake - or eightteen 10" squares
1 Jelly roll - or twenty-six 2 1/2" x width of fabric strips
2 yards of 108" backing fabric OR 4 1/4 yards 40" fabric
Embroidery thread ~ if you choose to tie instead of quilt


I used Moda's Bandana and Robert Kauffman's Kona Solids in white.

You will need a total of 18 squares, mark the diagonal on the back of 9 of them.


Place two squares that have some contrast, right sides together, and stitch 1/4 inch on both sides of the marked diagonal. Cut on the drawn line. Press the seam to either side. Repeat to make 36 Half-Square Triangles


Square to 9 1/2". There will not be a lot to trim off.


Lay out your HST's in an appealing pattern. I tried to go for pinwheels, and I had to lay them out a few times before I got the finished project. 
*Hint: After laying out your quilt take a picture with your cell phone or camera. It will let you see a square that stands out or a color that doesn't really fit in the place it's at. 

Once you have decided on your pattern sew a 9 1/2" strip to the right side of the first five blocks in each row.


Once your blocks are sewn into rows, sew a 64 .5" strip to the top of each row, as well as the bottom of the last row. Sew the last two 68" strips to either side.


I match up the seams and pin when I am adding a strip. This helps keep the blocks lined up. 


Lay your quilt top, right sides together with your backing. Leaving an 8" opening, stitch 1/4" around the entire quilt. I recommend sewing with the backing on top.


Clip the corners and turn your quilt right side out. Give the edge a good press all the way around, and using a slip stitch close the opening.


At this point you can quilt it or use embroidery thread to tie it. 

There are so many options for this quilt. Play around with your blocks and find a pattern that is pleasing to you.


Enjoy this light weight quilt.


Happy Stitching!
Jen


Friday, May 20, 2016

Mother's Day gifts and a Sneak Peek

I love to make gifts for people. The trouble is finding the time between the "work" quilting for the "fun" quilting. Which means that sometimes those gifts are late, though I try really hard to make the gifts on time.

My Mother's Day gifts for my Mom and Mother-In-Law went out a week and a half late this year. :( Not something I am proud of. But I do love how they turned out, and the rich colors have a lot to do with it. 


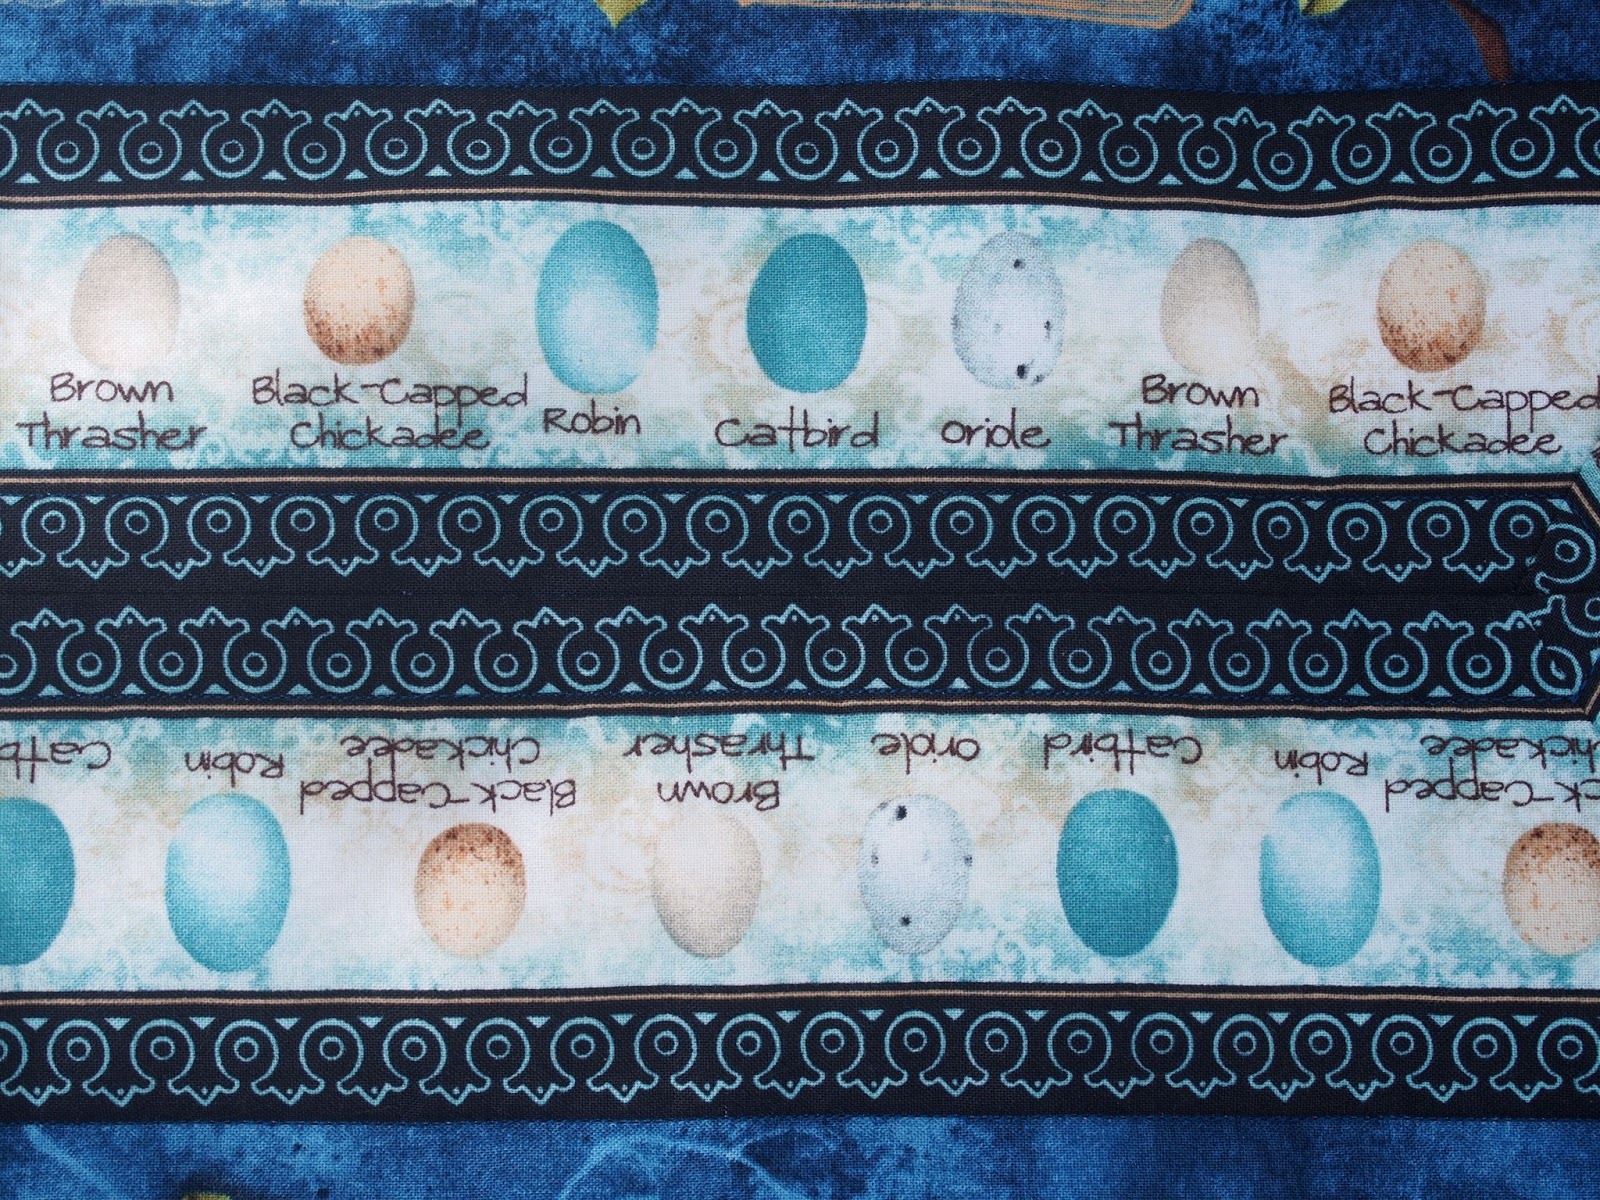
My Mom's gift is The Easy Striped Table Runner from The Quilt Company. I know I'm late to the party, but man was this a quick and simple pattern with a great looking finish. This is wider then the original pattern calls for, but I couldn't get rid of those eggs, they make the center so interesting. The 12 1/2" 60* ruler worked perfectly for it. The fabric is Feather Your Nest Fabrics for Wilmington Prints.


 I didn't do a lot of quilting, you can't even see the stitching unless you go looking for it, because I didn't want to take away from the finish. The blues in this fabric are just scrumptious.


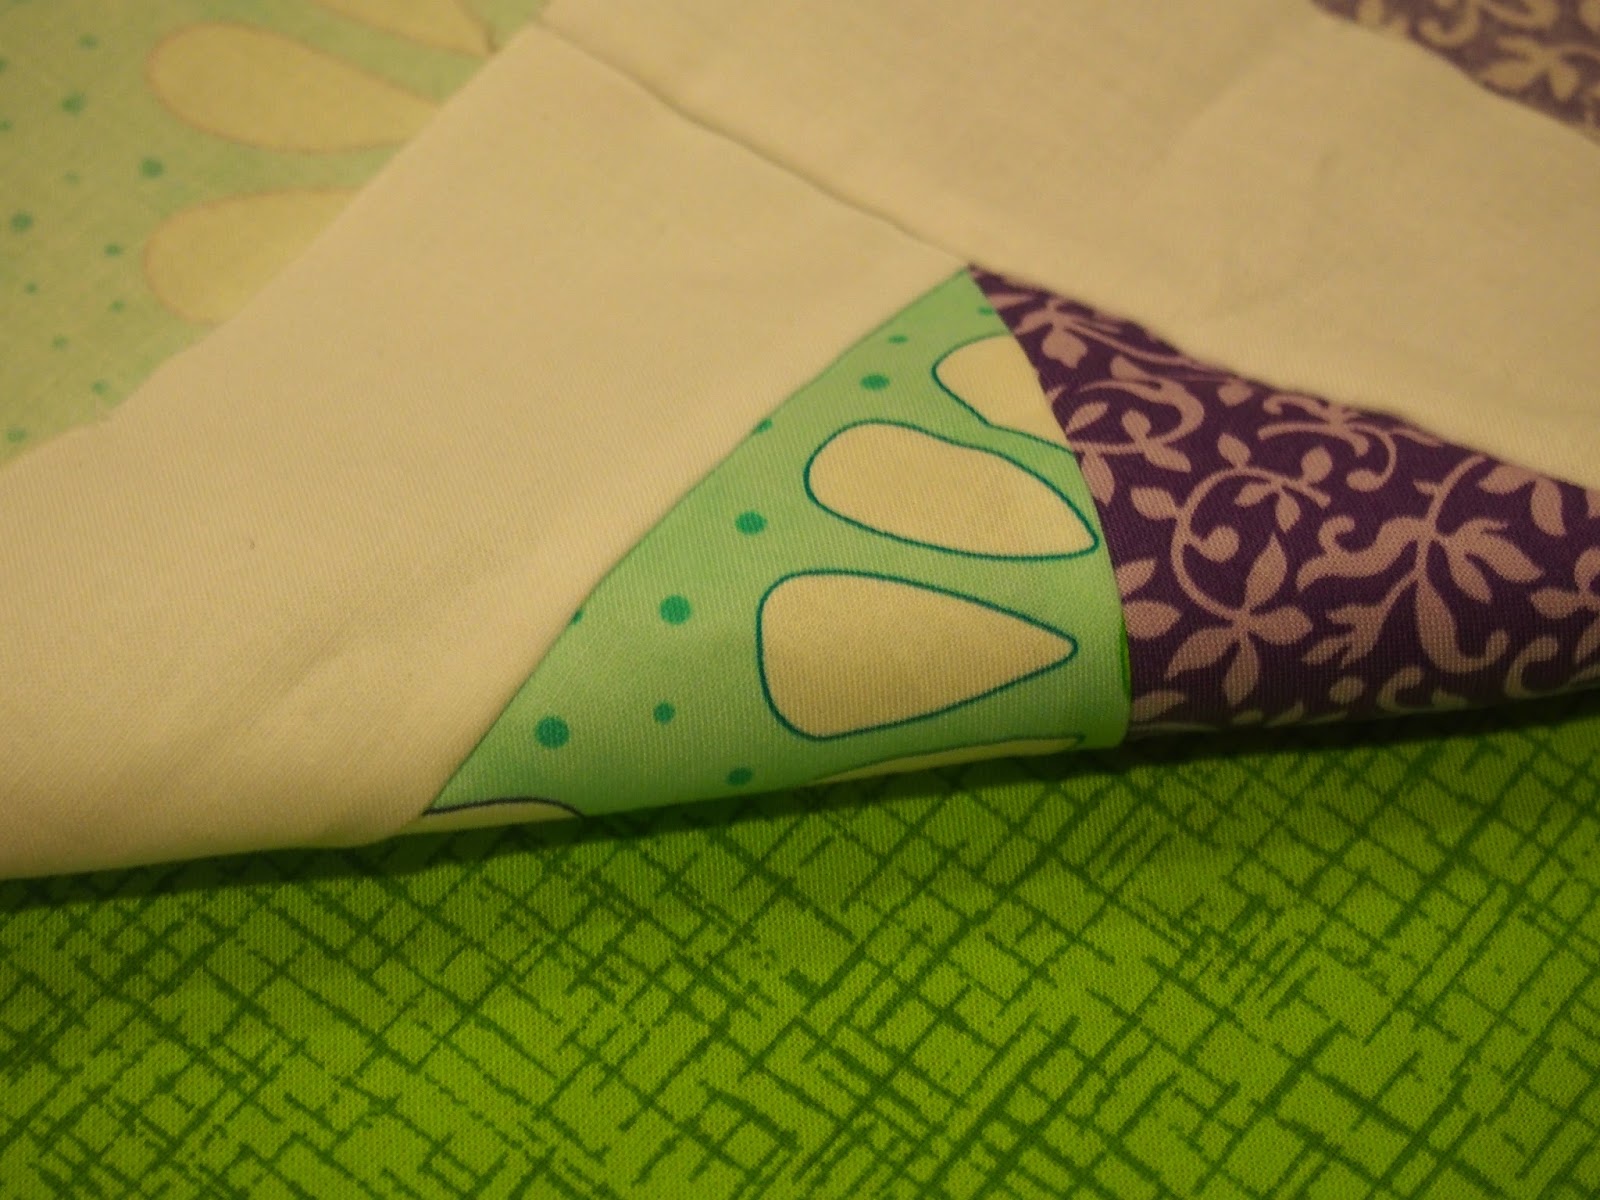
My Mother-In-Law's gift is this bright and cheery wallhanging. It's a little bit (a lot) bigger then the usual size I make her, but it will also go nicely on a table. This comes as a panel, called Baltimore Spring by Perl Pereira of P3 Designs for Red Rooster Fabrics. that you cut up and piece back together. I switched out the purple inner border for a blue. 


The border is simple and pretty, and the added triangles finish it off nicely. I used echo quilting throughout the entire piece, including those purple triangles. 

I hope they enjoy the spring a little bit more with these little gifts of love. 

I am currently working on a free picnic quilt pattern using a layer cake and a jelly roll. I will hopefully release it by the end of the weekend. 


A little sneak peek. (I'm currently using Bandana from Me & My Sisters for this.)

Do you find it harder to work on quilts when the weather warms up? I've been known to move things outside to enjoy the sun and birds, but still sew. How do you keep your sewing mojo during the summer months?

Happy Stitching!
Jen