
Memorial Day is coming up and who doesn't love a good BBQ with the family. And what goes better with BBQ and family then a quilt? Well, maybe cold drinks, yummy deserts and campfires, but a quilt should be on the list, too. This one is quick and easy and uses a Layer Cake and a Jelly Roll.

Finished size is 68 x 68
Needed supplies:
1 Layer cake - or eightteen 10" squares
1 Jelly roll - or twenty-six 2 1/2" x width of fabric strips
2 yards of 108" backing fabric OR 4 1/4 yards 40" fabric
Embroidery thread ~ if you choose to tie instead of quilt

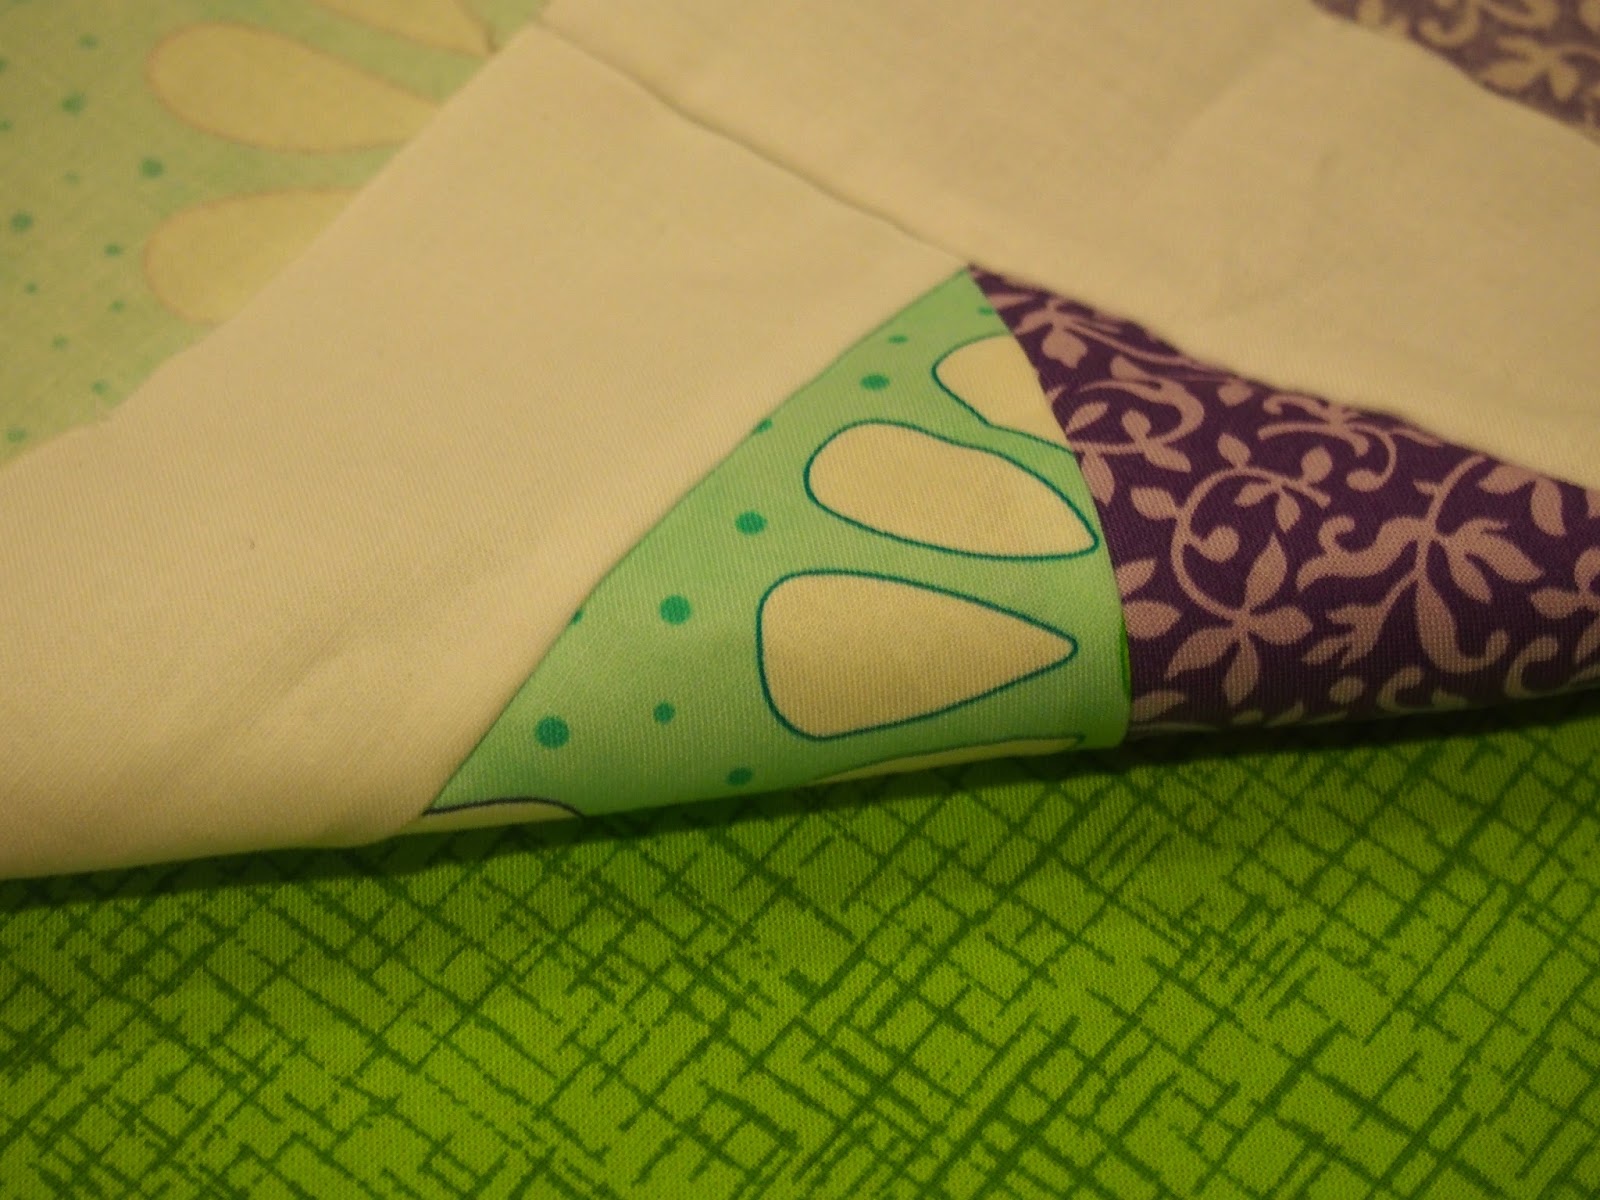
I used Moda's Bandana and Robert Kauffman's Kona Solids in white.
You will need a total of 18 squares, mark the diagonal on the back of 9 of them.

Place two squares that have some contrast, right sides together, and stitch 1/4 inch on both sides of the marked diagonal. Cut on the drawn line. Press the seam to either side. Repeat to make 36 Half-Square Triangles

Square to 9 1/2". There will not be a lot to trim off.

Lay out your HST's in an appealing pattern. I tried to go for pinwheels, and I had to lay them out a few times before I got the finished project.
*Hint: After laying out your quilt take a picture with your cell phone or camera. It will let you see a square that stands out or a color that doesn't really fit in the place it's at.
Once you have decided on your pattern sew a 9 1/2" strip to the right side of the first five blocks in each row.

Once your blocks are sewn into rows, sew a 64 .5" strip to the top of each row, as well as the bottom of the last row. Sew the last two 68" strips to either side.

I match up the seams and pin when I am adding a strip. This helps keep the blocks lined up.
Lay your quilt top, right sides together with your backing. Leaving an 8" opening, stitch 1/4" around the entire quilt. I recommend sewing with the backing on top.

Clip the corners and turn your quilt right side out. Give the edge a good press all the way around, and using a slip stitch close the opening.

At this point you can quilt it or use embroidery thread to tie it.
There are so many options for this quilt. Play around with your blocks and find a pattern that is pleasing to you.


Enjoy this light weight quilt.


Happy Stitching!
Jen
I am linking up with Needle and Thread Thursday from My Quilt Infatuation, and Let's Bee Social from Sew Fresh Quilts.
Greatly ttutorial and a very pretty quilt.
ReplyDeleteThank you!
DeleteThis comment has been removed by a blog administrator.
ReplyDeleteJen, Great Tutorial and and even greater quilt that you made. TFS!
ReplyDeleteThank you so much!
DeleteVery cute, nice tutorial!
ReplyDeleteHey! I didn't get this blog post. I was sure I was signed up to follow you. Hmm. I notice that you don't have the "follow me by e-mail" gadget activated. That is my favorite to get notified of blog posts that I am following. Would you be willing to add that? It's very easy to do. :)
ReplyDeleteYes! It is definitely on my To Do list.
DeleteVery lovely!
ReplyDeleteThank you!
DeleteGreat tutorial! Wise choice on the backing fabric, it will hide any grass stains.!
ReplyDeleteYes it will! Much better then the white will hide ketchup stains. :)
DeleteI like the clean look of this quilt. Very pretty and fresh!
ReplyDelete