Welcome to Week 2 of Patterns By Jen's
The Border Quilt Quilt Along!
During this two week period we will be making the checkerboard borders, as well as adding the background borders.
If you are just finding us, there is plenty of time to grab your pattern and fabric and join in. With each border there is a two week time period to make the border before we start on the next. You can stop at any point for any size you quilt you like.
Grab your pattern!
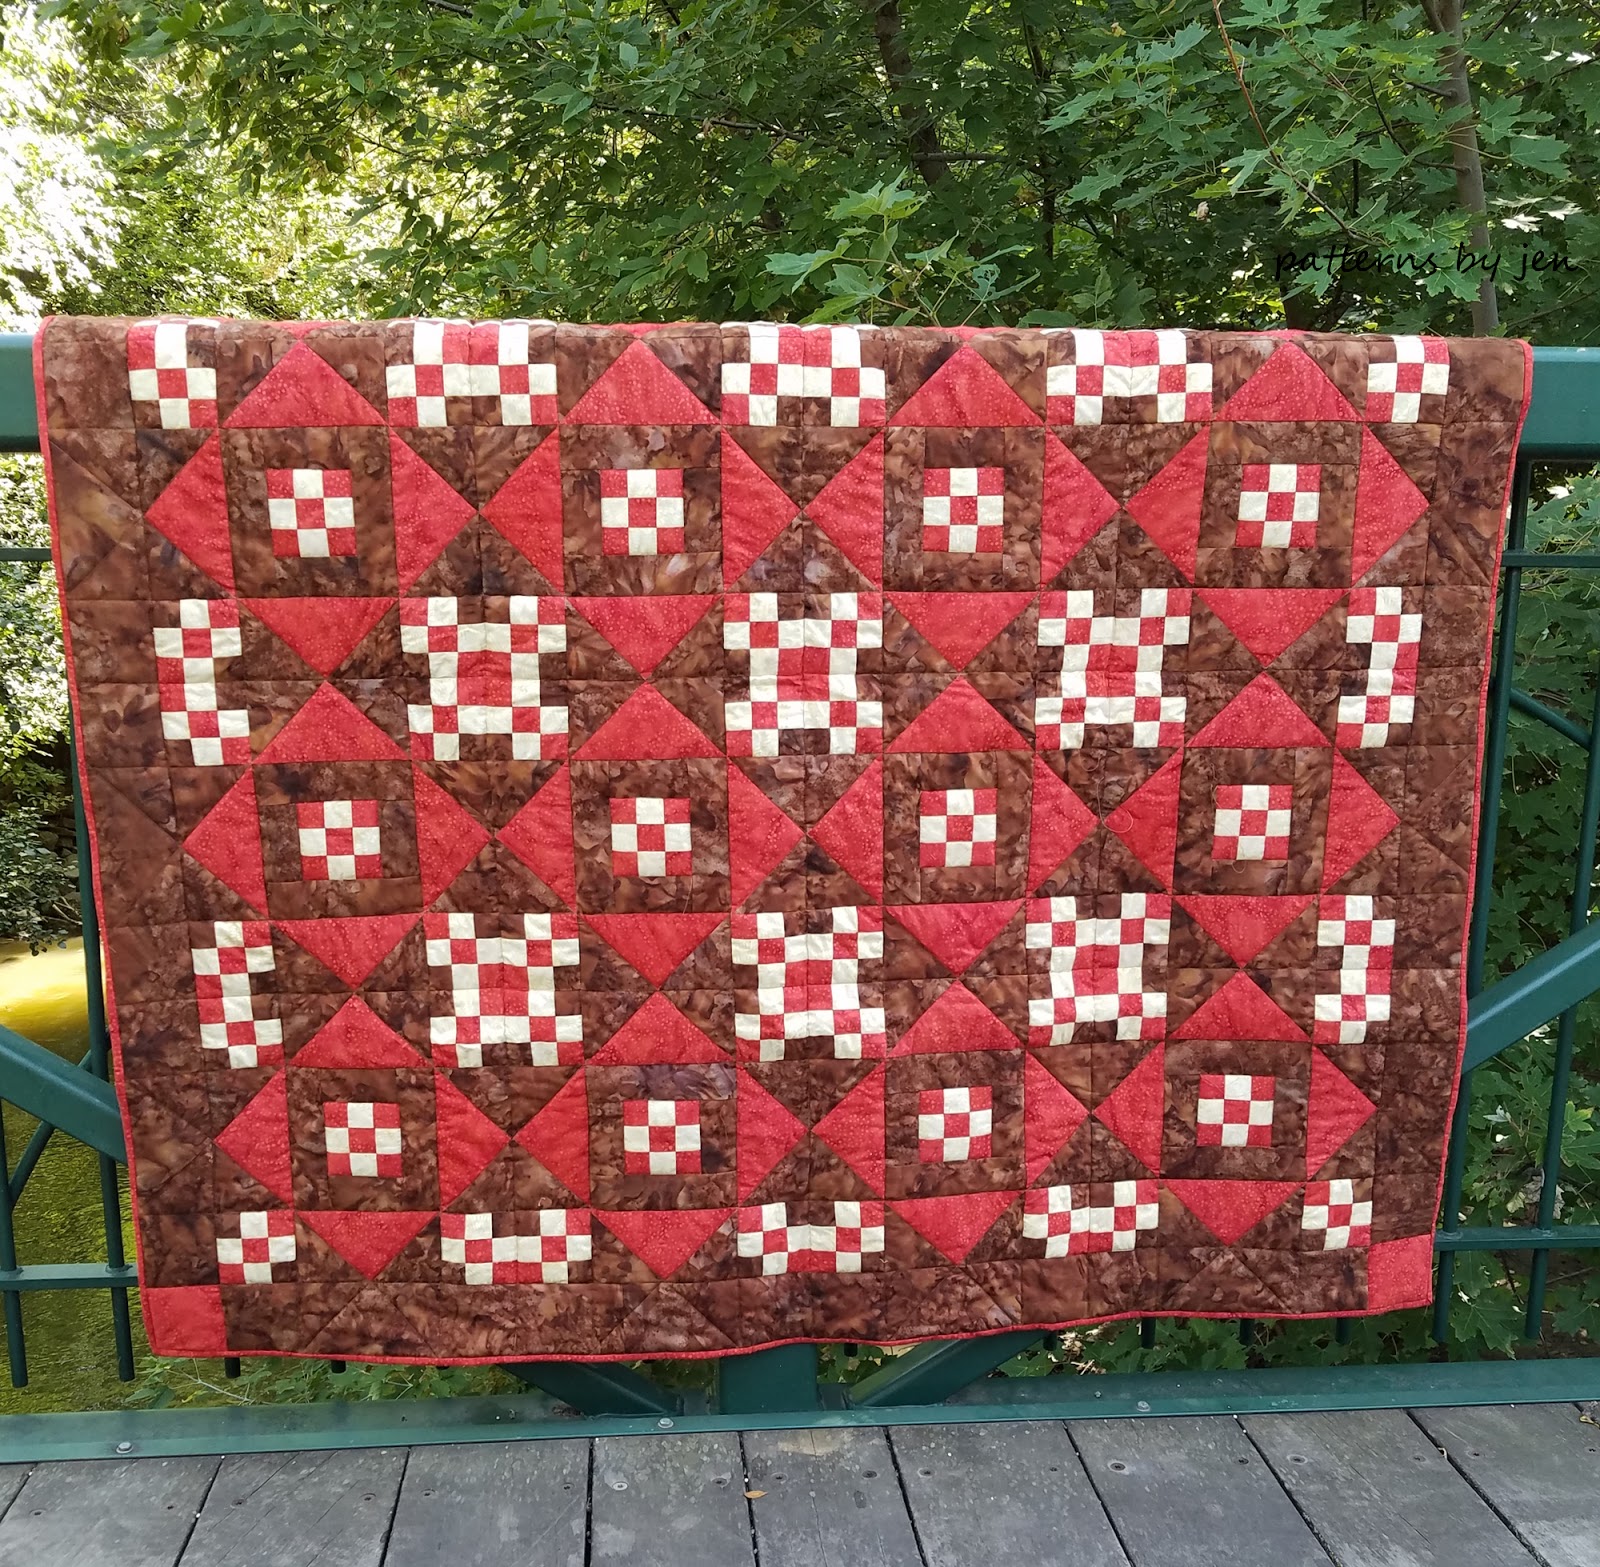
For inspiration see The Border Quilt tester quilts HERE. I am using Enchanted Forest generously provided by Northcott Fabrics. These gorgeous fabrics are in shops now! They are super soft and easy to work with.
***Please note! If you are using them for the quilt along, wait to wash them until you are done with the quilt, or buy extra fabric. Flannel shrinks more than quilting cotton.***
We're going to start off slow for the first few weeks as we get into the swing of the quilt along. We will be doing the center first, I will go over both versions, then a border every two weeks. This will hopefully give you time to work on them a little bit at a time if you need to, as well as get any questions answered. Don't worry about keeping up, this is supposed to be fun, so go at your own pace. Do try to make at least one block for each border as we go so you can ask any questions as they come up.
Quilt Along Schedule
Sept 12 - Making the center (both center options will be included in this post)
Sept 26 - Checker border with two background borders
Oct 10 - Star blocks with a background border
Oct 24 - Friendship stars with a background border
Nov 7 - Pinwheels with a background border
Nov 21 - Flying Geese
Dec 5 - Finishing touches
Let's Get Started!
Checkerboard Border
Before we work on our checkerboard we need to add a background border around our center piece. The following pictures show the center as one unit, but the instructions are the same for both pieced and solid center units.
I believe in cutting your border strips to the size needed and then pinning. To do this I pin each end and then pull the fabric taut to pin the center and then the rest of strip. Do NOT stretch your pieces, just keep them taut.
If one piece seems a little longer than the other, sew with that piece on the bottom. The feed dogs will help pull those even.
I found that when I was sewing the flannel, using quilters gloves helped me keep the fabric moving evenly and lessened the strain on my hands and arms. Especially as the quilt grew!
Press towards the border strips.
When cutting the strips in half for strip piecing using a scissors is quick and easy.
I found that holding the threads when I started stitching the thicker flannel strips helped to keep my threads from knotting or getting pulled out.
Do not worry about these strips lining up at the end because we will be trimming them into smaller units.
Set the seam with an iron.
Once your seams are set I highly recommend finger pressing before using the iron again. This helps prevent stretching and warping which easily happens when using flannel.
Can you tell which on I finger pressed first?
Before trimming your strips into smaller units, trim one edge straight. I use the seam as my guide for straight cuts, not the mat lines.
Chain piecing is your friend at this stage.
I am always a fan of pinning, but especially so when sewing with flannel. It stretches. Have I said that yet?
Press towards the background border.
Add another background border around your first checker border, pressing towards the background.
Make the second checkerboard border the same way you made the first. Pin either end, pull taut and pin in the center. At this point I like to keep an eye on the seams as I pin the rest, to make sure they aren't getting pulled. They don't have to be exact, because there is a border strip between them, but you shouldn't have to stretch or manipulate this border, the seams should align on their own.
Press towards background strips.
Add the last set of background strips and you are done! If you are making the baby sized Border Quilt then you really are done. Quilt it up and snuggle a baby.
If you share your progress on social media please tag Patterns By Jen and /or use #theborderquiltquiltalong. I can't wait to see your pieces!!!
If you are a blogger who is sewing along please fee free to grab and use this button.
 Instructions: Select all code above, copy it and paste it inside your blog post as HTML
Here are the bloggers that participated in the Interview Session. Please take a moment to follow them and see their progress. Some will be posting right away, some will be posting during the two weeks between borders.