Tuesday, March 15, 2022

Quilt Studio Set Up 2022

 This post is a long time in coming and it's already an update on the new quilting studio that I never shared with you. It's photo heavy with photos that are not professional. This is me.


August 2021 I started painting and moving into an empty bedroom to use as my quilting studio. 


The bedroom has wood paneling and I painted it white to brighten the room, especially because it has one of those fake little basement windows that just pretends to let in sunlight.


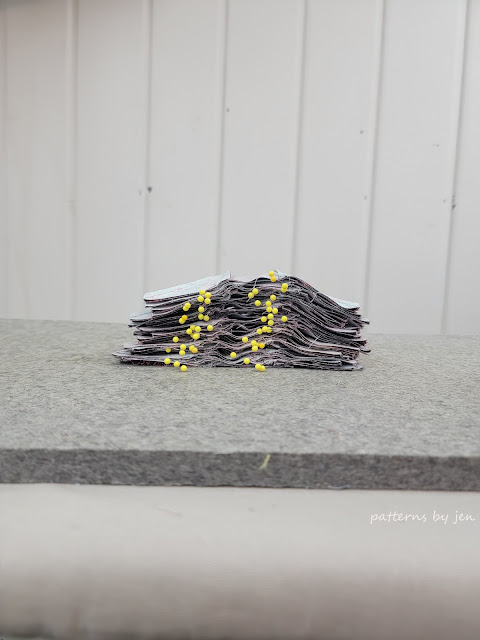
After using it for 7 months, and isolating in it for a week while I had COVID, I knew it just wasn't quite right. This weekend I decided it was time to change it up. I started with emptying everything but the big stuff. HOW does all of this fit in such a small space?


I decided to go with my original plan 7 months ago. It was a bit of a puzzle to move these big pieces around, but with a push there and a shove here I did it.


This wall is the perfect spot for the cutting table. I have wanted to set it up here all along. Can't you just picture a pretty peg board on the wall full of all those fun rulers?


That meant I had to put my sewing desk in this corner. I don't know about you, but I hate having my back to the door, which means really only one way to set up an L-shaped desk.


Unfortunately, that didn't really leave enough space for using Carl comfortably.


I had to say goodbye to my cutting station placement dream (for now) and I switched the cutting table and sewing desk.


You'll see in the finished phots I changed the cutting table one more time, for some reason this set up felt too "closed."


If you have cats, you know.


Carl has one wall to himself, with a little space around him. I thought it would be nice to have a corner to keep batting, but this put Carl closer to the sewing desk and again made the space feel closed.


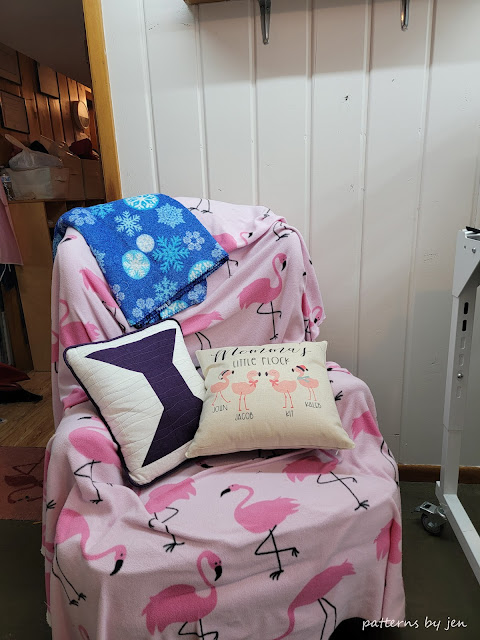
 Instead I moved Carl over and brought in a comfy chair.


Final set up, and it makes my hubby so happy that he doesn't have to move the tv to a different corner. Ha.


Did you notice there is not an ironing board? That's because I moved it into the laundry room right next to the bedroom. After my husbands scare with clots in January I wanted to make sure that I'm not just getting up and taking two steps to press, I wanted to move. Don't forget to get up and move quilters. 💜


Still left to do:

1) Hang peg boards for rulers and thread

2) Get cords put up and out of the way

3) Hang corner shelf under TV for Blue Ray player, etc

4) Hang art

5) Set up coffee station


How so you take care of all the cords? So. Many. Cords.


Happy Stitching!
Jen


New to Patterns By Jen?


Find paper and digital patterns, gifts and more in my Etsy shop.

Find fun PBJ merchandise at Teespring

Join the Quilt and Learn with Patterns By Jen Facebook page.

Follow me on Instagram and Facebook for daily sneak peeks and updates.

Wednesday, March 9, 2022

Piecing tips for short sewing sessions

 I often get comments about how much I get done in a small amount of time. I thought I would share some tips that help me keep my work flow. . . well. . . flowing.


Featuring English Autumn fabrics from Benartex.

These tips are piecing related, if you are looking for tips to keep your life organized, I am not that person. 🙃

I find the best way to get as much done in one short sitting is to keep the motion as repetitive as possible. While this may sound boring, by keeping to the same task I am getting rid of unnecessary movements and steps. This allows me to "get in the groove" of that task and just keep going.


Pressing

This may not seem like part of the piecing process, but before you cut you must press. If I'm pressing anything less than 2 yards I will starch and press the whole piece in one sitting.


If, however, I'm cutting yards and yards of background fabric I don't do it all at once. I will press a yard or so at a time, using something like a chair to keep the fabric from pulling or laying on the ground. If I need something like sixteen 2 1/2" strips I would press a yard and a half. This isn't set in stone, do what works for you.


Once it's pressed I bring that yardage over to the cutting table and do the same thing. Place it on a chair or lay the excess off to the side to cut the strips I need from the prepared yardage. I will sub-cut those strips as directed, then head back to the ironing board to starch and press some more.


Cutting

Cutting fabric, you either love it or hate it. I love it. I also like to get it all done at once. This may not sound great, but again, it keeps my work flow moving forward, without a lot of stopping and starting. If you are a quilter that likes to make one block first, this doesn't stop you from doing that. Cut out what you need for one block, put it together to make sure it works like you want, and then come back and start cutting.


I like to cut multiple strips at one time. Then I take those strips and line them up.


From there I sub-cut the sizes needed. Not only does this save time, it makes counting the units easier as well.


If there is any marking that needs to be done I do it right away. I hate having to come back and mark when I'm ready to just start sewing. By having them marked I can sit and sew when I have a free moment.


Sewing


Chain piecing is your friend. Do it as often and for as long as you can. I chain piece everything; units, blocks, rows. If I can sit and sew it over and over, that's what I do.


I also like to "chain pin" when needed. I am a pinner, if you aren't you can skip this tip! 😄 When I'm working on the same block I do the same process over and over, and if that means I have to pin 50 blocks, that's what I do. Once they are all pinned I can just start sewing, I will often pin before I quit for the night so I *can* just start sewing. I don't have to stop and start to pin the next one and it's already to go when I have a moment.


If I don't need to pin the units I will gather what can be sewn all at once. In this instance I'm sewing a background rectangle to the pieced unit. I have all of my rectangles (because I cut everything beforehand) and all of the pieced units layed out and read to go. I just pick one pieced unit, one rectangle unit, sew and repeat.


Pressing. . . Again

Not only do I chain piece and pin, I chain press, too!


You will often hear me say in my 2022 Monthly Color Challenge How To Videos to leave the chain pieced units sewn together until you press.


This is because it is so much faster to "chain press" than to cut them each apart and then press individually.


For HST units I press one after another, even though you can't leave these sewn together for pressing, but layering them like this I can press over and over and over again.


The less steps I have to take to piece a quilt, the faster and easier it is to get it done and the more I can accomplish in a short amount of free time.

I hope those tips helped give you new ideas on how to set yourself up for more progress in smaller bits of time. Let me know in the comments if you have any questions!

Make something Extraordinary!

Jen

New to Patterns By Jen?

Don't forget to sign up for the Bites of PBJ newsletter while you are here for early releases and sales just for subscribers!


Find paper and digital patterns in my Etsy shop.

Find fun PBJ merchandise at Teespring

Join the Quilt and Learn with Patterns By Jen Facebook page.


Follow me on Instagram and Facebook for daily sneak peeks and updates.

Tuesday, March 1, 2022

March 2022 Monthly Color Challenge

 It's March and time to get "spicy" again!


This month our color is inspired by the Pink Peppercorn. Sounds kind of exotic and fun doesn't it?


From AllRecipes:  "Contrary to what their name might tell you about them, pink peppercorns aren't *actually* a peppercorn. In reality, they are dried, berries from a tree. . . . The only reason that they're named as a peppercorn is because they are similar to peppercorns in shape and flavor — at the end of the day, these bright, tiny balls are nothing more than a humble berry."


Our block for March may resemble the shape of berries a bit, but that was only accidental. I am definitely NOT that organized! Ha! It's another simple block that should come together quickly, as long as we pay attention to the way we lay the signature blocks out.


March Bloggers


The bloggers will be sharing their favorite quilts made with the color of the month. Have you made a pink quilt?


Ready to get the pattern? Go to Payhip and download it now! The block is free for the month March! Each set of instructions includes a "How To" video, one for each size offered!

To have the 2022 Monthly Color Challenge blocks sent directly to your email sign up HERE.

It's too late to have the January thru March blocks emailed to you but you can download them from Payhip.

Make something Extraordinary!

Jen

New to Patterns By Jen?

Don't forget to sign up for the Bites of PBJ newsletter while you are here for early releases and sales just for subscribers!


Find paper and digital patterns in my Etsy shop.

Find fun PBJ merchandise at Teespring

Join the Quilt and Learn with Patterns By Jen Facebook page.

Follow me on Instagram and Facebook for daily sneak peeks and updates.