
I'm so excited to announce the 7th Annual Monthly Color Challenge with Patterns By Jen!


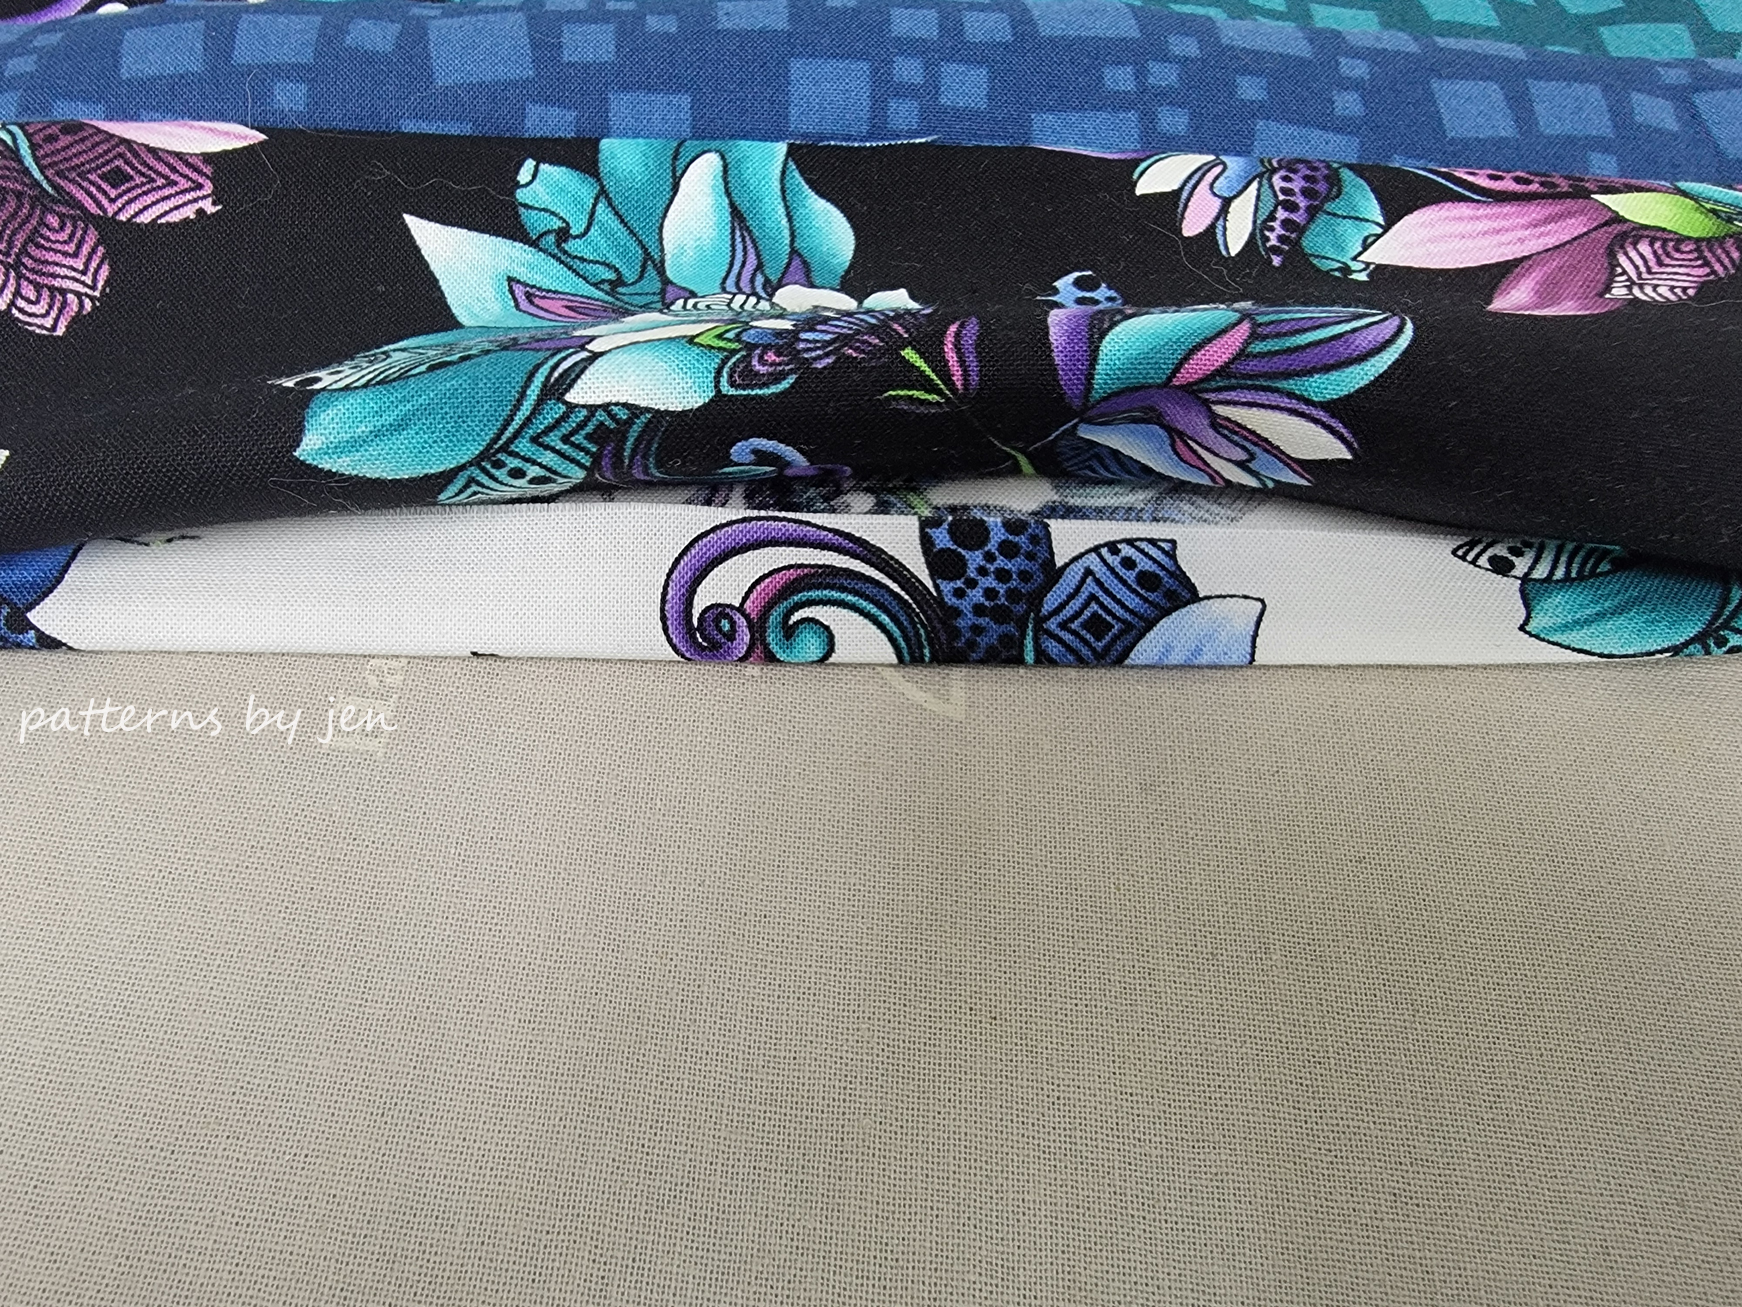
The general rule is a fat quarter of light and a fat quarter of dark will be enough. The finished size of each month's block will be 12".

There is also the option to have all of the same background, instead of using the color for that month. If you are using the same background throughout the year you can download the cutting instructions for the background fabric HERE.
Blocks are available for free during the month. After the month has passed, blocks are available for $1.
Do I *have* to use my stash?
No. If you want to go purchase some new fabrics to play with you are more than welcome to. *I* do, because I don't keep a stash. There may be colors you really don't have, maybe they aren't your favorite to work with, maybe they ARE your favorite, so they get used all the time and your stash is low on the color. I hope you will take a look at what you have on hand and try to use it.
Here are a few bundles that I think would work for the Color Challenge. NOTE: Most of them will still need a couple of colors added to the bundle, so make sure you take a look at what color we are using so you aren't surprised/disappointed.
 |
| Tilda Solids by Tilda Fabrics |
 |
| Beyond Bella by Annie Brady |
 |
| Florence's Fancy by Betsy Chutchian |
 |
| Calico by Lori Holt |
Will there be a quilt layout?
Yes! Early December the layout instructions are given to you and are free until the end of January. A bonus is that the layouts from the previous years work for the current year, so if you don't like the layout, you can find instructions for different versions in the Payhip Shop for only $1.

Here are the fabric requirements for the layout coming in December.

I'm a total beginner, should I even try?
Definitely! This is the perfect time to join! Each block is beginner friendly AND comes with a "how-to" video linked right in the instructions. The Quilt and Learn with Patterns By Jen Facebook group is full of helpful quilters, too, so make sure you join and ask any questions you may have.
To get started I recommend you check out the link Beginners Unite. A post that has great information and "how-tos" for beginners.

What supplies do I need?
You will need all the pretty fabric colors listed above, a cutting mat, rotary cutter, rulers, fabric marking tool, pins, and an iron.
To help with squaring up the units we are making, a 6 1/2" square ruler or 6 1/2" x 12 1/2" rectangle ruler will be helpful, but are NOT required. If you have the 6 1/2" x 24 1/2" ruler that will work just fine.
You can find the 6 1/2" square ruler here.
You can find the 6 1/2" x 12 1/2" ruler here.

To have the block sent directly to your email sign up HERE.
NOTE: If you signed up for previous Monthly Color Challenge Emails you do NOT have to sign up again.
Make something extraordinary!
Jen
.jpg)


.jpg)


