
For the next two weeks we are putting our quilt top together and getting it prepped for quilting.

Affiliate Disclosure: This post contains Affiliate Links. When purchases are made through these links I receive a small commission at no extra cost to you. Your purchases help support my small business and keep my husband's head from exploding every time a new quilting notion arrives in our mailbox. Thank you for that. Find out more about Affiliate Links Here.
I love getting to this part in the quilting process, but I also start to get restless. I want to see the top put together, but I'm ready to get started on the next quilt project, too. Today I'm sharing my tips on putting quilt tops together efficiently.
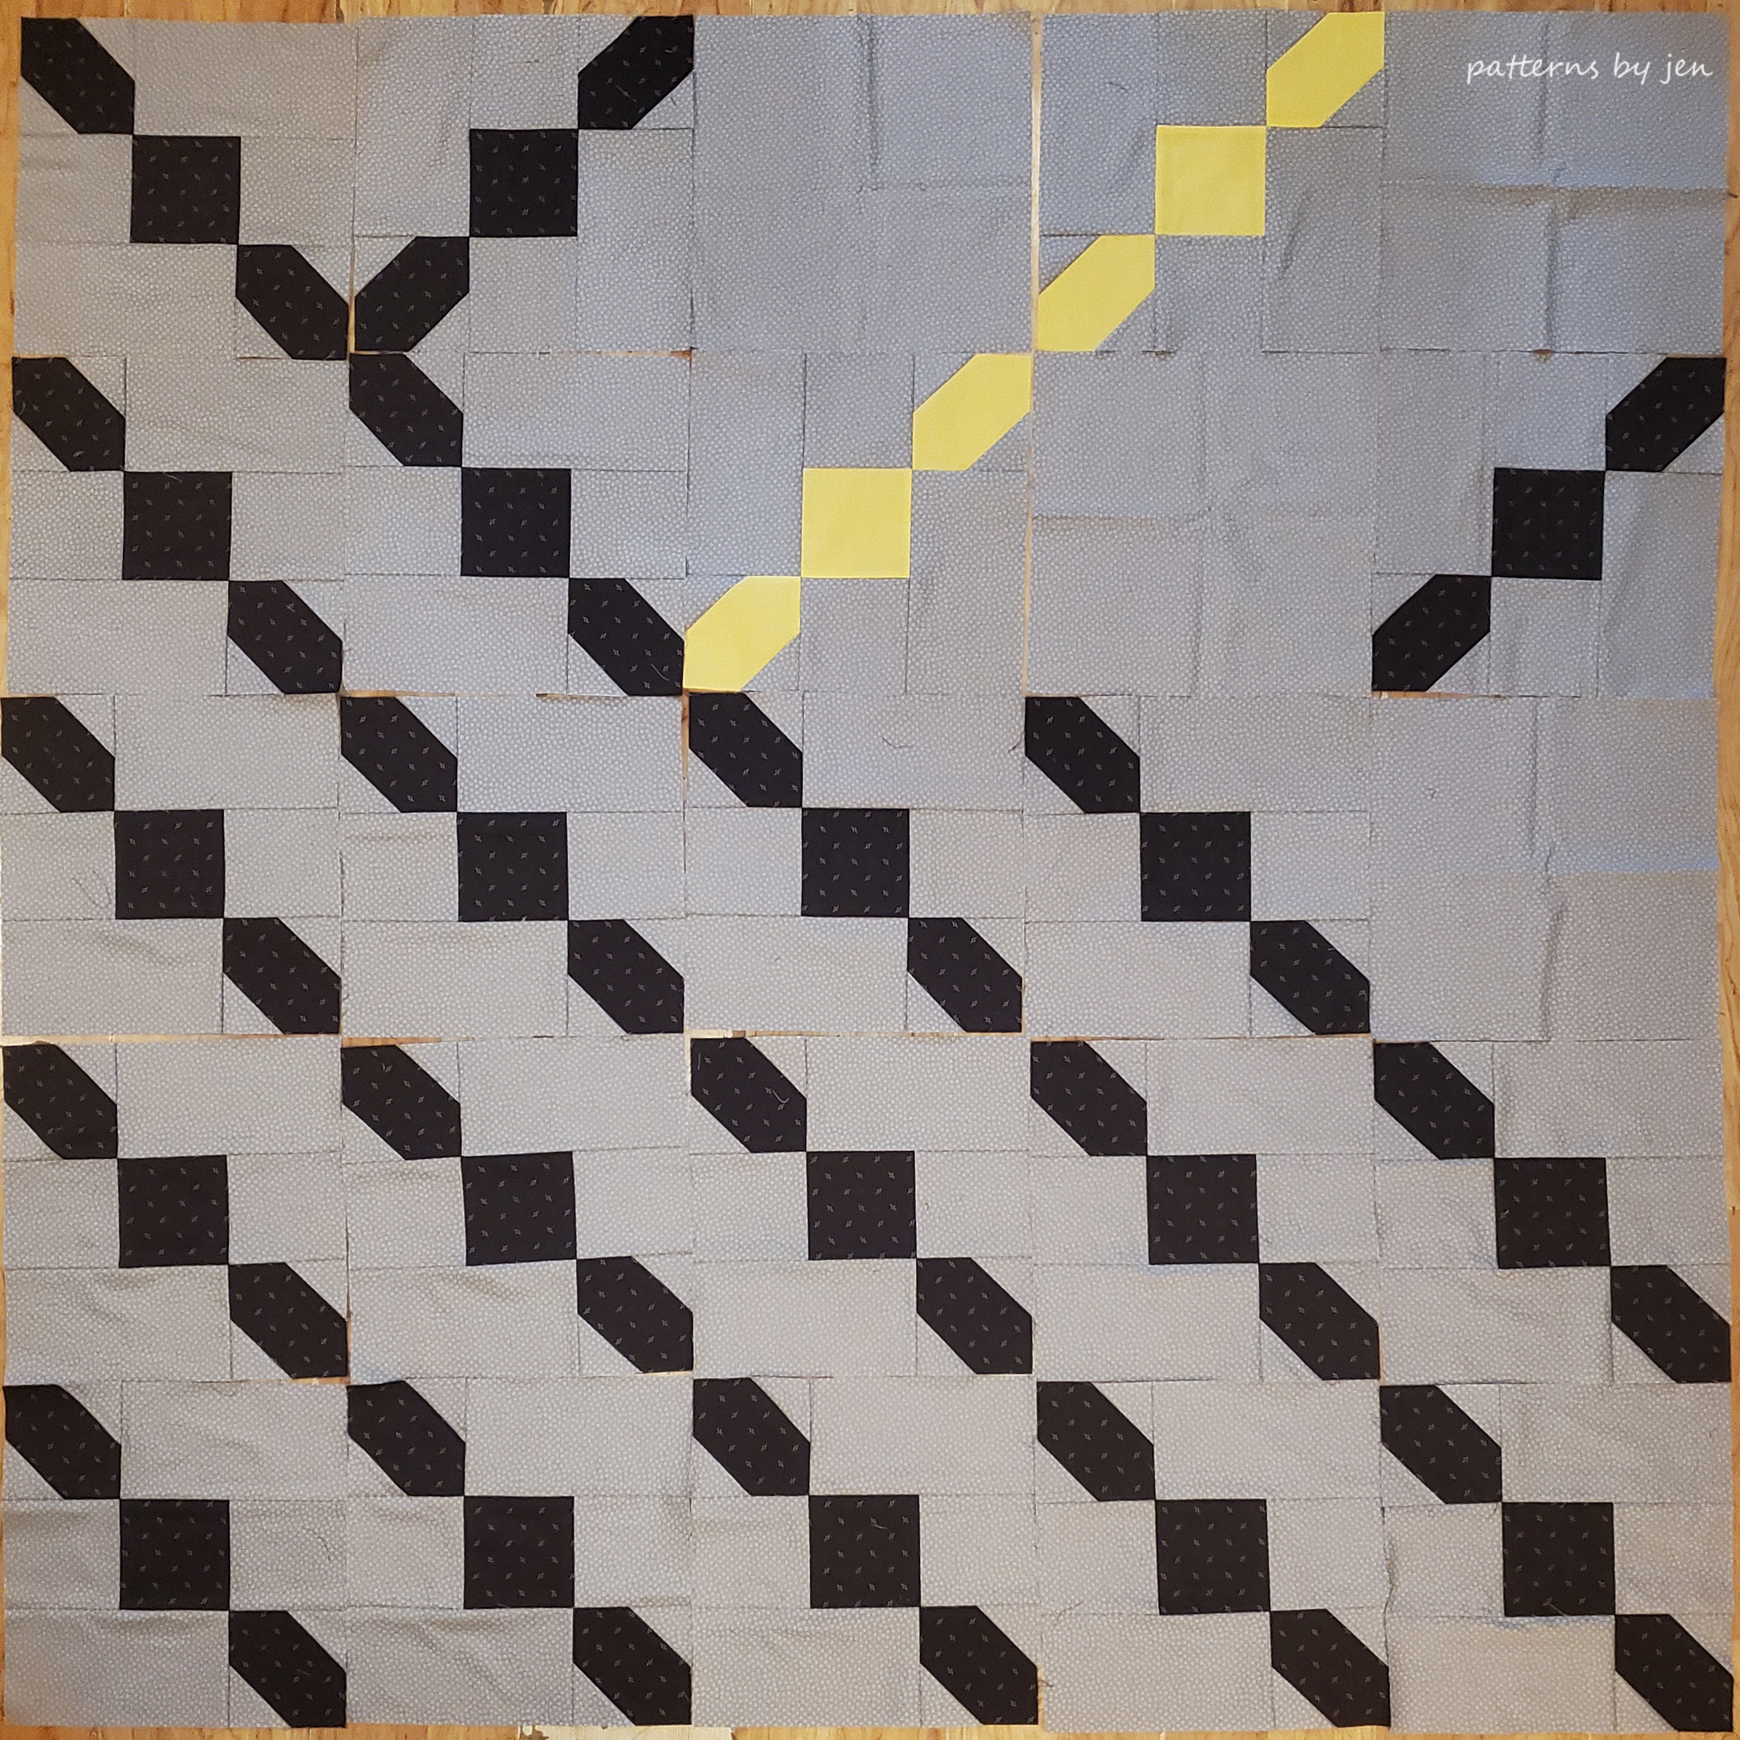
I don't have a wall to set my blocks on, with two cats I think I would just get too frustrated trying to keep them off or fix what they knocked down, so I sweep and wash the fake hardwood floor in my child care area and lay it out there. (Do you see my mistake?)

Once I lay out the blocks I mark the rows. I found these in the Dollar Store area in Target, but you can use pieces of paper and pins or fancy Alphabitties found at the Fat Quarter Shop.

When I'm done laying out my blocks and marking my rows I can stack each row and then stack the rows and they will stay organized if I need to walk away at any point.

Take a moment when you are laying out the quilt to check which direction your seams are going. You should be able to turn a block, with it still facing the right direction, and get the seams to nest together.
 |
| Picture to show blocks 1&2 and 4&5 sewn. |
For this quilt I have just five blocks per row and my process is this:
Row 1: Sew blocks 1 and 2, leave my presser foot down, sew blocks 4 and 5 and leave the presser foot down. Then I cut the first set of blocks away and sew on block 3. This is where it can get tricky, but I will continue to chain piece the whole quilt like this.
Right now I have blocks 4 and 5 sewn together and blocks 1,2 and 3 sewn together and they are all still under the presser foot like chain pieced units. While they are still there I will start on Row 2.
I sew Row 2 blocks 1 and 2, and then 3 and 4. Leaving blocks 3 and 4 under the presser foot I clip the threads from the other blocks. Now I will finish Row 1 sewing 1,2,3 to 4,5 to finish, and then sew Row 1&2 blocks to 3. At this point I start on Row 3 as I did above with Row 2 and continue on, pressing each row as I finish it.
Yikes, it's so much easier to do it than to explain it! This is also not the only way to do this! If you want to do one block at a time press and add the next and so on, do it. Quilting is only fun if you do it your way and enjoy the process!

I leave my markers on the blocks throughout the process. Not only does it keep my rows in order, but when I'm pressing I know this row I press towards the marker, this one is away from the marker.


See you in two weeks. I have rows 1 and 2 sewn together, onto rows 3 and 4.
ReplyDelete