
We have pieced our quilt, sandwiched it and we are ready to quilt.
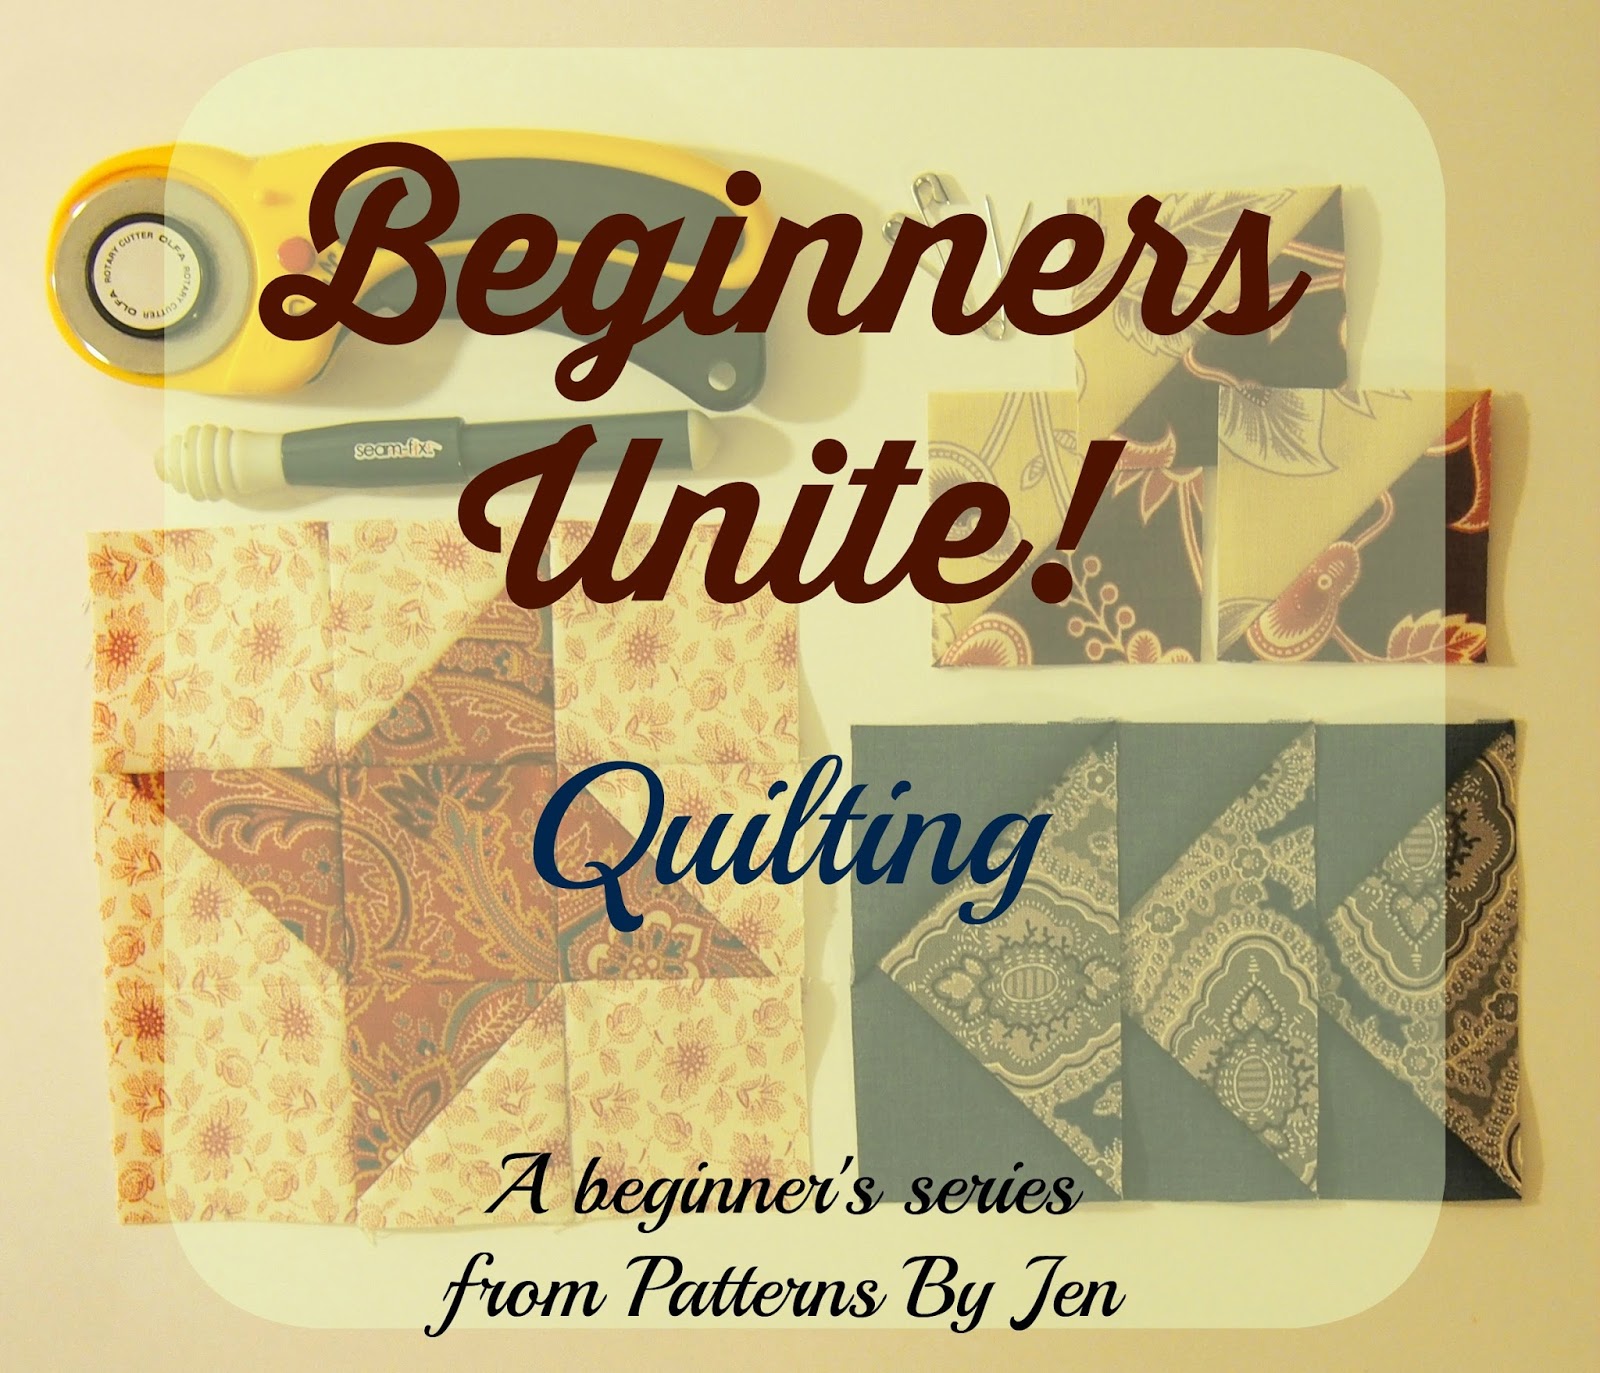
To be completely honest, I am a much stronger "piecer" than quilter. I have a few tips to share, though, and will hook you up with a couple of links to those who are more knowledgeable in this area.. Plus, stick around to the end and get the info for a Beginners Unite! Quilt Along, sponsored by Phat Quarters.

Tools that I use for quilting on my domestic include a good pair of gloves. I have quilting gloves, but I find they are bulky, so my go to are gardening gloves with the little rubber fingers.

I also use either a walking foot or a free motion foot. Lately, I have used the walking foot for everything. I don't have to decided on a design, I just stitch in the ditch and get it done. When I didn't have a walking foot or a free motion foot I simply used the foot that came with the machine, dropped my feed dogs and quilted away. It can be done.

When machine quilting on your domestic, start in the middle. I'm not an expert, so maybe others say differently, but I have found that it's worth figuring out the quilting pattern from the middle out, even with a lap sized quilt. This keeps the fabric from bunching, especially underneath where you can't see it, as it gets pushed out towards the edge. When using a walking foot (shown) keep the feed dongs up, if you are using a free motion foot, make sure the dogs are down. Start with your needle down, that way you know you are starting in the right place, and pull your thread ends towards the back. Hold them for just a second as you start, to keep them from getting tangled.

My plan is to just quilt the angles, so when I get back to my starting spot I am going to give myself some extra thread before I cut. We'll bury the threads when we are done. If you have a big project I recommend burying threads every now and then so you aren't faced with a bazillion threads to bury. That's no fun.

I work my way around the quilt.
Since I decided to just do the angles I had a lot of stops and starts. It's time to bury those threads. Burying your threads gives your quilt a nice finished look. The backs of my quilts and wall hangings before burying threads (BBT) looked a little rough. Knots all over the place. They are unsightly, but a good reminder of how much I learned, and how I wasn't afraid to try. FMQ (free motion quilting) can be intimidating, but if you can bite the bullet and just go for it, it will be worth it.
Here is how I bury my threads. I have no idea if this is the "correct" way to do it, but it works for me. Please feel free to share your tips in the comments!! Flip your top to the backside. Taking one thread, pull on it gently until you get a little loop of the thread from the top side. Pull it all the way to the back.

I do this for all of them before I start knotting.
Make a little loop knot. (For the life of me I can't figure out how to tie a quilters knot, so this is what I do.) I have found that by putting a pin through the little loop know and holding it where I want the know to end up to, next to the backing, I don't end up with a knot half way up the thread.

Once you have your knot, thread your needle and take a stitch directly under the knot and coming up a little bit away from that point, making sure to catch some of the batting, but not coming out on the quilt front.

Pull the thread until the knot "pops" into the fabric. Keeping the thread taut, clip very carefully next to the fabric. (I'm a righty, holding the scissors with my left hand, so I can hold the camera in my right. That was interesting!!) Once the fabric smooths out, the thread will disappear.

Beautiful.
Your top is quilted, your threads are buried.

The back is just as pretty as the front.
Christa of Christa Quilts (new book just came out yesterday and I'll share more in a couple of weeks) hit me with a link that has all of *her* links on free motion quilting articles. Trust me, you will want to check them out, because she teaches this stuff, I just play with it.
Find all of the links HERE.
These two are great starting points: Introduction to Free Motion Quilting and 10 Beginner Tips for FMQ.
Now. Drum roll, please! I'm hosting my very first Quilt Along, and it's especially for those who have been following Beginners Unite! Though anyone can join, obviously. We are going to be making the Here A Square, There A Square quilt I shared in June. This is currently a free pattern for a lap sized quilt.
I think this quilt is the perfect quilt to practice all of the topics we covered, plus a few more, like adding sashing and fussy cutting. I'm so very excited about this!!! Phat Quarters is sponsoring the Beginners Unite Quilt Along and I'm using the beautiful Haiku 2 fabric line from Monaluna Organic Fabrics. Yum. Phat Quarters is also going to run a sale especially for us that I will announce August 20th along with more information. The Beginners Unite Quilt Along will start September 5th!
Happy Stitching!
Jen


I also use either a walking foot or a free motion foot. Lately, I have used the walking foot for everything. I don't have to decided on a design, I just stitch in the ditch and get it done. When I didn't have a walking foot or a free motion foot I simply used the foot that came with the machine, dropped my feed dogs and quilted away. It can be done.

When machine quilting on your domestic, start in the middle. I'm not an expert, so maybe others say differently, but I have found that it's worth figuring out the quilting pattern from the middle out, even with a lap sized quilt. This keeps the fabric from bunching, especially underneath where you can't see it, as it gets pushed out towards the edge. When using a walking foot (shown) keep the feed dongs up, if you are using a free motion foot, make sure the dogs are down. Start with your needle down, that way you know you are starting in the right place, and pull your thread ends towards the back. Hold them for just a second as you start, to keep them from getting tangled.

My plan is to just quilt the angles, so when I get back to my starting spot I am going to give myself some extra thread before I cut. We'll bury the threads when we are done. If you have a big project I recommend burying threads every now and then so you aren't faced with a bazillion threads to bury. That's no fun.

I work my way around the quilt.
Since I decided to just do the angles I had a lot of stops and starts. It's time to bury those threads. Burying your threads gives your quilt a nice finished look. The backs of my quilts and wall hangings before burying threads (BBT) looked a little rough. Knots all over the place. They are unsightly, but a good reminder of how much I learned, and how I wasn't afraid to try. FMQ (free motion quilting) can be intimidating, but if you can bite the bullet and just go for it, it will be worth it.
 |
| See the itty bitty loop? I'm going to use my pin to pull that all the way to the back. |
Here is how I bury my threads. I have no idea if this is the "correct" way to do it, but it works for me. Please feel free to share your tips in the comments!! Flip your top to the backside. Taking one thread, pull on it gently until you get a little loop of the thread from the top side. Pull it all the way to the back.

I do this for all of them before I start knotting.
 |
| My little knot loop and the pin goes through that loop and marks the spot I want the knot to end up at. |
Make a little loop knot. (For the life of me I can't figure out how to tie a quilters knot, so this is what I do.) I have found that by putting a pin through the little loop know and holding it where I want the know to end up to, next to the backing, I don't end up with a knot half way up the thread.

Once you have your knot, thread your needle and take a stitch directly under the knot and coming up a little bit away from that point, making sure to catch some of the batting, but not coming out on the quilt front.

Pull the thread until the knot "pops" into the fabric. Keeping the thread taut, clip very carefully next to the fabric. (I'm a righty, holding the scissors with my left hand, so I can hold the camera in my right. That was interesting!!) Once the fabric smooths out, the thread will disappear.

Beautiful.
 |
Your top is quilted, your threads are buried.

The back is just as pretty as the front.
Christa of Christa Quilts (new book just came out yesterday and I'll share more in a couple of weeks) hit me with a link that has all of *her* links on free motion quilting articles. Trust me, you will want to check them out, because she teaches this stuff, I just play with it.
Find all of the links HERE.
These two are great starting points: Introduction to Free Motion Quilting and 10 Beginner Tips for FMQ.
Now. Drum roll, please! I'm hosting my very first Quilt Along, and it's especially for those who have been following Beginners Unite! Though anyone can join, obviously. We are going to be making the Here A Square, There A Square quilt I shared in June. This is currently a free pattern for a lap sized quilt.
I think this quilt is the perfect quilt to practice all of the topics we covered, plus a few more, like adding sashing and fussy cutting. I'm so very excited about this!!! Phat Quarters is sponsoring the Beginners Unite Quilt Along and I'm using the beautiful Haiku 2 fabric line from Monaluna Organic Fabrics. Yum. Phat Quarters is also going to run a sale especially for us that I will announce August 20th along with more information. The Beginners Unite Quilt Along will start September 5th!
Happy Stitching!
Jen
1) Intro - May 2
2) Quilting supplies ~ What makes the process easier - May 9
2a) Side Trip ~ Maintenance - May 11
3) Choosing fabric and color - May 16
2a) Side Trip ~ Maintenance - May 11
3) Choosing fabric and color - May 16
5) That crazy scant 1/4 inch seam allowance - May 30
6) Sewing strips and squares - June 6
7) HST - Half Square Triangles (My one true love) - June 13
8) Flying Geese - June 20
13) Sandwich that top - July 25
14) Quilting ~ You are here - August 1
15) Binding - August 8
16) Labels - August 15
16) Labels - August 15
No comments:
Post a Comment
I love to get your comments and hear your ideas. I always respond to comments (though it may take me a few days), if you haven't heard from me it might mean you are a no reply commenter. If you haven't heard back from me, check back here, because I will reply to the comment.