Friday, May 20, 2016

Mother's Day gifts and a Sneak Peek

I love to make gifts for people. The trouble is finding the time between the "work" quilting for the "fun" quilting. Which means that sometimes those gifts are late, though I try really hard to make the gifts on time.

My Mother's Day gifts for my Mom and Mother-In-Law went out a week and a half late this year. :( Not something I am proud of. But I do love how they turned out, and the rich colors have a lot to do with it. 


My Mom's gift is The Easy Striped Table Runner from The Quilt Company. I know I'm late to the party, but man was this a quick and simple pattern with a great looking finish. This is wider then the original pattern calls for, but I couldn't get rid of those eggs, they make the center so interesting. The 12 1/2" 60* ruler worked perfectly for it. The fabric is Feather Your Nest Fabrics for Wilmington Prints.
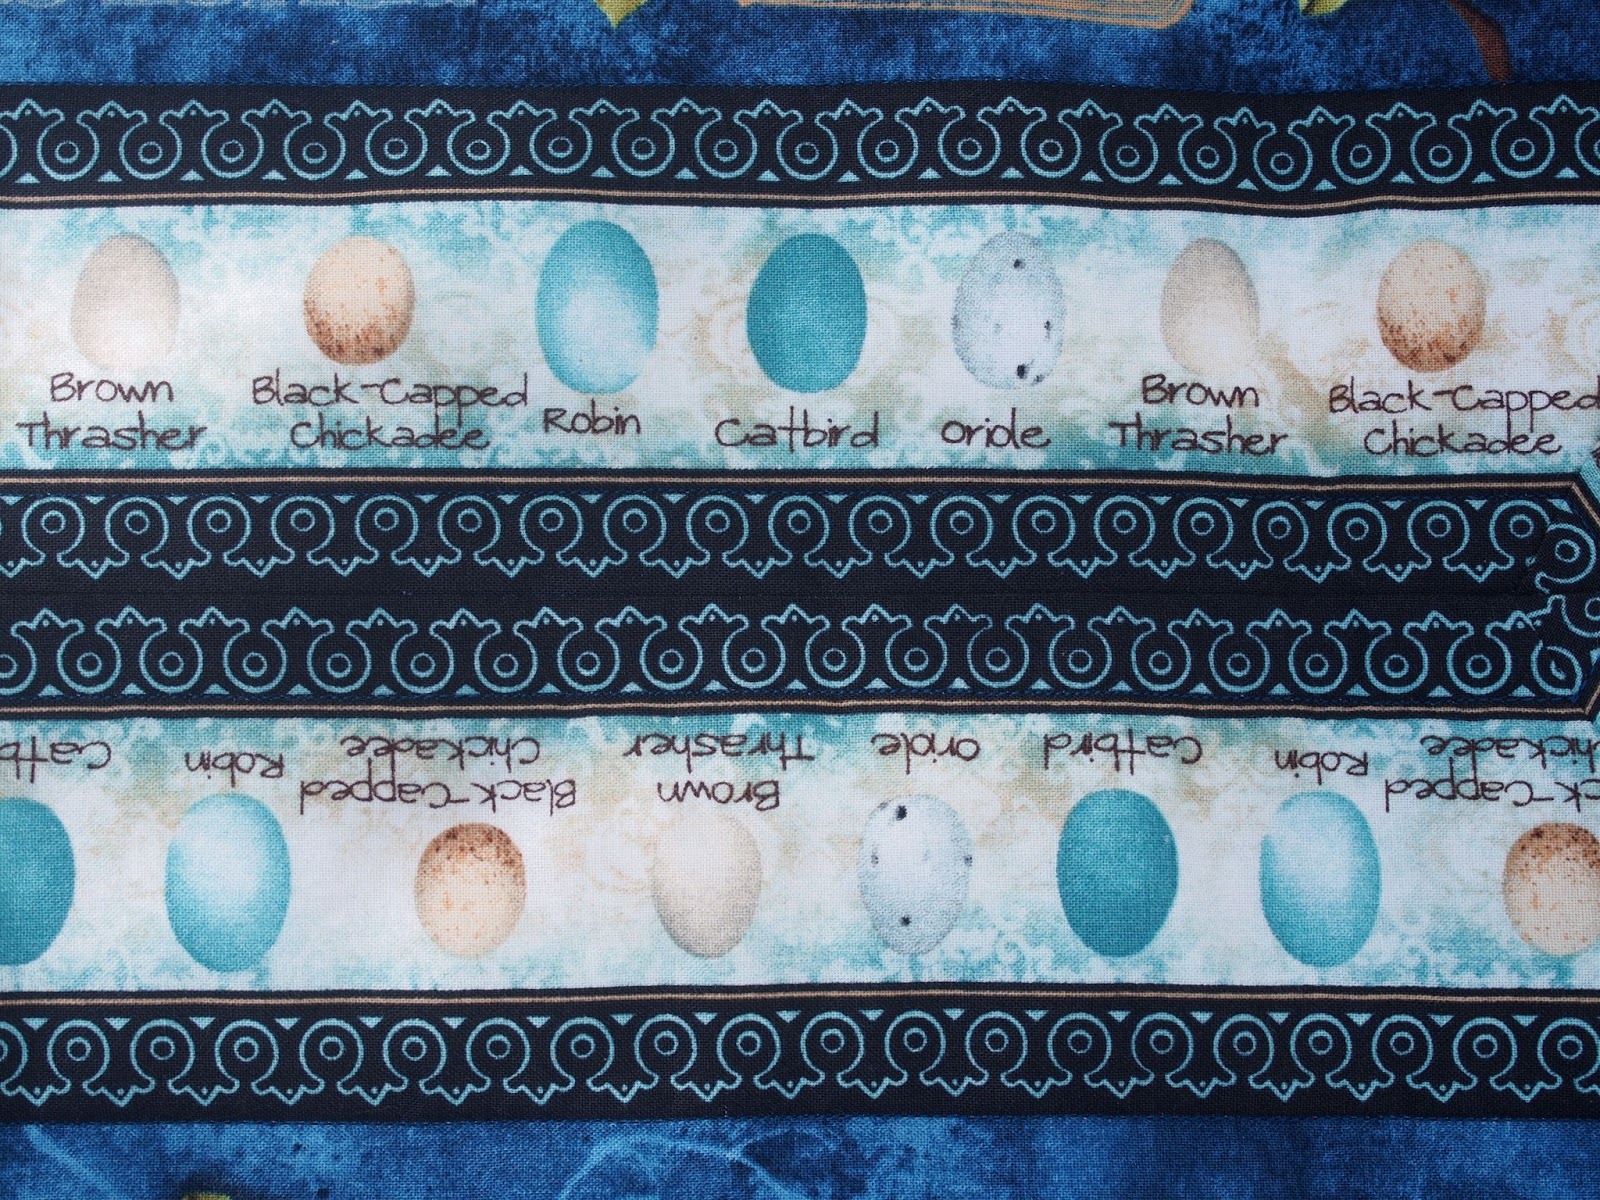

 I didn't do a lot of quilting, you can't even see the stitching unless you go looking for it, because I didn't want to take away from the finish. The blues in this fabric are just scrumptious.


My Mother-In-Law's gift is this bright and cheery wallhanging. It's a little bit (a lot) bigger then the usual size I make her, but it will also go nicely on a table. This comes as a panel, called Baltimore Spring by Perl Pereira of P3 Designs for Red Rooster Fabrics. that you cut up and piece back together. I switched out the purple inner border for a blue. 


The border is simple and pretty, and the added triangles finish it off nicely. I used echo quilting throughout the entire piece, including those purple triangles. 

I hope they enjoy the spring a little bit more with these little gifts of love. 

I am currently working on a free picnic quilt pattern using a layer cake and a jelly roll. I will hopefully release it by the end of the weekend. 


A little sneak peek. (I'm currently using Bandana from Me & My Sisters for this.)

Do you find it harder to work on quilts when the weather warms up? I've been known to move things outside to enjoy the sun and birds, but still sew. How do you keep your sewing mojo during the summer months?

Happy Stitching!
Jen

Monday, April 25, 2016

Crossroads Quilt Along ~ Block 3

 Introducing the Friendship block in our Crossroads Quilt Along journey. There were a quick and easy blocks to piece. The Friendship block instructions were release April 15th. The next set will be released May 15th. This quilt is offered for free from The Fat Quarter Shop, but they encourage you to make a $5 donation each month to March of Dimes. A beautiful quilt for a worthy cause. It's a win win. And the fabrics you get to work with Strawberry Fields Revisited. Ahhhh.

We used these three beauties along with our background fabric this month. I still just love those strawberries!

At this stage in my quilting journey I'm not a fan of pressing seams open, but that could always change, and I know that many quilters like it. I chose to not to do them this time around. I get bulkier corners, it's true, but I like being able to match those seams up a little bit faster. 


For these I pressed towards the beautiful prints.


And for these I pressed towards the prints as well. I didn't grab a picture, but for the Flying Geese I pressed to the top goose. This makes it so all my seams can be sandwiched in together and I get nice points.


All the beautiful blocks so far.

Don't forget to go to the March of Dimes site to make your donation!

Happy Stitching.
Jen

Tuesday, April 19, 2016

Picked By Jen - Owl You Need


This Picked By Jen is the adorable Owl You Need Sewing Buddy from The Modern Tomato. Isn't she adorable??!! 

This was a quick sew. Aren't those nice? Stitching up something that you can enjoy almost instantly can be so rewarding. Especially if you are working on big projects that seem like there is no end in sight. 


Since my favorite color is purple, I had to use it for my buddy. After all, she is going to be hanging with me, right next to my machine, watching me, every day... with those owly eyes...ok, moving on.

The instructions were easy to follow, and her tutorial is great. She has a couple different options for downloading the pattern, too. Nice and easy. And who couldn't use an extra set of hands, er, wings?


 I think I might go back and put a stitch in to hold her wings together, She holds a lot, though she might need a partner for a little help. At the end of Shannon's post there is a link so you can check out all the little owl buddies helping out quilters and seamstresses. 

I hope you enjoy this Picked By Jen!
Happy Stitching,
Jen


Sunday, April 10, 2016

Miniature Hanging Sleeve Tutorial and a Sneak Peek


 Today I am going to share how I make my hanging sleeves. There are different ways to do it, and this in NOT the way they like them done for shows. It is, however, quick and easy, which means I'm more likely to finish it and get on the wall, or in the case, the little hanging rack. This little tutorial is for a miniature quilt.

The first thing I do is measure.


I am measuring the inside of the quilted piece, not the binding. In this case it is 9 1/2". I need to add 1/2" for seam allowance, so 10". I'm going to find a scrap piece of fabric that is 2" wide and at least 10" long.


Next I press a quarter inch seam on either end. I just eyeball this. It doesn't have to be perfect.
Close enough is good enough in this case.


Using matching thread stitch each end. As you can see, my folded piece is a little wider then the 1/4", that's ok. I'm not going to worry over it. 

When both ends are stitched. Fold your strip length wise with WRONG sides together and stitch.

(right side showing, this is correct)

I like to start about 1/8" in from the end and back stitch, and when I get to the end I like to back stitch about 1/8" away from the end before clipping. This keeps my threads from showing.


Next we are going to press that long seam open. I maneuver my hanging sleeve so that the seam is centered. 


Your hanging sleeve is done. Now it's time to add it to the back.


Making sure you are adding it to the top of the miniature, you want to place your hanging sleeve with the seam towards the backing. 


I like to start stitching along the top first. I pin to make sure the sleeve stay centered while I stitch.


I start about 1/4" from the edge of the sleeve and come up right at the corner.


I love my thimble for this and for binding. It really saves your finger. 


At the end I go straight down from the corner with the needle and come out under the sleeve to knot off.


Next I pin the bottom. I like to push it up a bit to create a little give, pinning makes sure it's the same all the way across.


When I get to the end I do a back stitch in about 1/4", tie it off and bury the knot. 


You are ready to show off your little miniature. 


This 10" miniature is available with Patterns By Jen's 6th pattern: Star Light Star Bright Sampler. Coming sometime in May.


Happy Stitching!
Jen

Linking up withPatchwork Times and Main Crush Monday over on Cooking Up Quilts

Wednesday, April 6, 2016

Jaybird Quilt's Carnival - A Work In Progress Quilt


 This pretty little quilt is called Carnival from Jaybirds Quilts. I pieced it all together, and then put it away. I just wasn't happy with it, though I couldn't put my finger on why. I finally decided I didn't like the inner border. So I'm changing it up. 


I have these two colors to chose from. The current border, though this same pretty aqua, is a batik, and I think it just doesn't work with the other fabrics. 


Once I switch that inner border I am going to use this pretty little print for the outer border. This is Scrumptious by Bonnie and Camille for Moda. I just love the green in these leaves. And this spring like print is perfect for these dark, rainy days.


After I find the perfect backing I am going to bind it in this stripe, Marmalade by Bonnie and Camille for Moda. It will be my first striped binding, but I love this green. I think I may be ready for spring, and green things. 


Oh, look! Spring! It's too cold and wet to clean out the flower garden, but that doesn't stop these beauties from defying mother nature. 

Do you have a quilt you put away, because you weren't feeling it? If you have pulled out a quilt to work on after putting it away, how did you get inspired again?

Happy Stitching!

Monday, March 28, 2016

Crossroads Quilt Along ~ Block 2


The Crossroads Quilt Along Block 2 from The Fat Quarter Shop, is the Diamond Block. Download the free pattern instructions here. And while you are there click on the link to donate to the March of Dimes. A $5 dollar donation is all they ask for sharing the instructions for this beautiful quilt.


The beautiful fabrics we get to work with this month, again from Fig Tree Quilts, Strawberry Fields Revisited.


I used the Tucker Trimmer (no affiliation) on my half-square triangle blocks. Let me just put in a plug for this tool. I have been testing Pattern 7, and there are a lot of half-square triangles. This tool made it so quick and easy. Without all of the ruler lines I hardly had to think about what I was doing. I LOVE this tool. And I owe my fabric store owners at Fabrics Plus a huge apology (or a bottle of wine) for not listening to them sooner. A lot sooner. 

Back to the blocks. I did add 1/8 of an inch to the fabric I cut out for the HST pieces. I much prefer to make them larger and then trim them down. Either I'm not a very accurate sewer, or I'm too much of a perfectionist, but I LIKE that perfect HST. 


 This has to be my favorite piece of the entire block. I love these little square in a square pieces. So darn cute!


I make sure to sew with the piece up that has the point. That way I can make sure I don't take that point off with my stitching. Nothing makes me happier then a pointy point. (Unless it's that perfect HST.)


All of the beautiful blocks so far. 


392 units


My own Pattern 7 went out to testers today. I'm so excited to have another of my patterns close to publishing. After stitching up all 3 sizes myself, and making the 3 diamond blocks, I have now made 900 HST units in the last 2 weeks. That is a crazy number!  If you need to feel like you have accomplished something, add up those HST units!

Block 3 for the Crossroads Quilt Along comes out April 15th.

Happy Stitching!

Jen

Wednesday, February 17, 2016

Crossroads Quilt Along ~ Block 1


The first block, The House Block, is out! If you are using the kit available from The Fat Quarter Shop, you will be using these four beautiful fabrics from Strawberry Fields Revisited from Fig Tree Quilts, along with the background. Aren't they just scrumptious? I am totally in love with the strawberries on pink. Of course I am partial to green, especially this green. And then that yellow with the sweet rosebuds. I love it all!

I have to share this picture with you.


I love a selvage with a cute little something on it. The strawberries alone are adorable. The added words take you to another place. "On a sunny afternoon she skipped through the strawberry fields." I can see a little girl, dress and hair blowing in the wind, skipping through the fields. I love warm summer days.

Before cutting these out I sprayed my fabric with starch. I use Best Press, non-scented, but you can use whatever starch you like. I find, especially with Block of the Month type patterns, that starch helps keep the smaller pieces from stretching and throwing your blocks off. 

Yes, I am missing "D". I did cut them out, but somehow they didn't make it into the family photo.

You will see lots of pictures with all the pieces cut out, and labeled very prettily with letters. I know myself well enough to just stick with writing them down on scrap paper. I would lose those pretty letters in a New York Minute. "Organized" is not my middle name. So plain slips of paper it is.


I have a picture of the pieces out and ready to become these beautiful houses, but I had the chimney piece flipped and I didn't want to confuse you. Thankfully, I sewed them correctly. I did rip out the pink and yellow chimney strips, twice, to get that chimney to line up, and I am happy with how these turned out. 


I love this green!


But these strawberries!! Yum!

There is still plenty of time to join the fun! Head over to The Fat Quarter Shop blog to get all the information and to download the house pattern. Each month, on the 15th, the a new set of instructions will be posted. They just ask that you donate $5 to March of Dimes for each download. What could be better, a free pattern and helping sweet little babies? 

Happy Stitching!
Jen